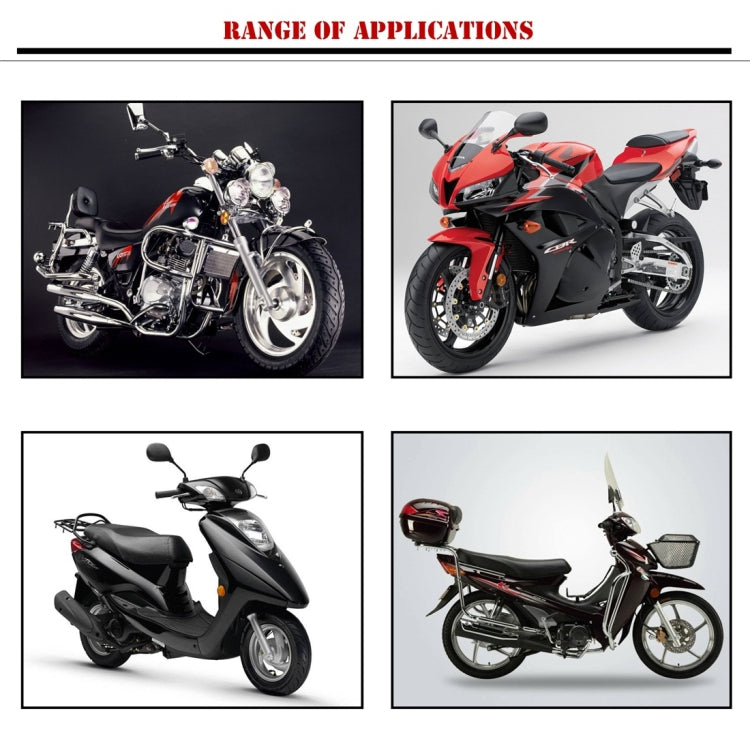
1. Adopt a simple modification method, that is, non-destructive appearance, easy to operate and easy to install. 2. Using PET metal heating film, the heating speed is very fast, several seconds fast, safe and fast. 3. Use ship type switch, waterproof, dustproof, beautiful and safe. 4. Switch design, can be directly installed on the mirror seat of rearview mirror, without drilling, without destroying, very simple. 5. DC 12V input, suitable for all motorcycles, very wide range of use 6. Input voltage: 12V 7. Product power: 10W (power on one side) 20W on both sides 8. Handle temperature: low temperature: 30 Celsius degree, high temperature 50-60 Celsius degree 9. Switch type: waterproof, waterproof and dust switch for ship type 10. Product accessories: one pair of heat-shrinkable sleeves, one pair of waterproof insulating tape, one pair of instructions 11. Net weight: 75g 12. Size: 9.5x8cm
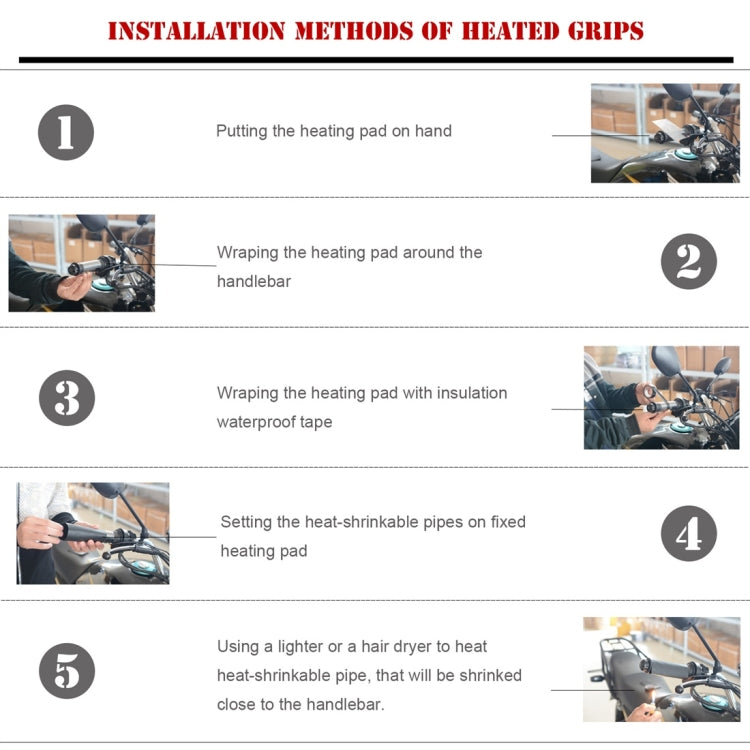
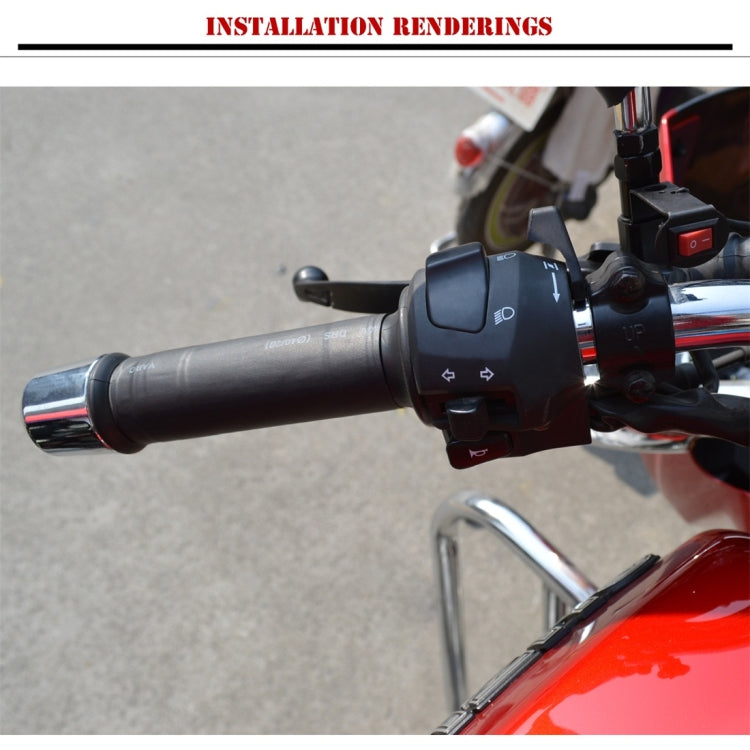
Installation method: 1. Put the heater on the handlebar and adjust it to the right position. 2. Use tape to fix (wrap) the heater evenly on the handlebars, especially at the junction of the heater. 3. Put on the casing, adjust the position, and use the hot air gun (or lighter or blower) to blow the two folds of the casing longitudinally and symmetrically until the contraction is uniform, then blow the other parts evenly until the contraction of each part of the casing is uniform and even. 4. The switch is installed under the mirror pole of the rearview mirror. 5. Connect the power cord, red and black wires are positive and negative, but must be connected to the lower pole output line of the door lock (where the key is inserted).
Verified Compatible
Guaranteed fit for your device. Wrong part? Full refund including shipping.