buy2fix
CS-043A1 Motorcycle Modified Electric Heating Hand Cover Heated Grip Handlebar
CS-043A1 Motorcycle Modified Electric Heating Hand Cover Heated Grip Handlebar
Estimated delivery:
Couldn't load pickup availability
Shipping Information
Shipping Information
FREE SHIPPING to UK & 40+ countries. Fully insured.
Delivery: Estimated times shown at checkout based on your location (typically 6-13 days total including 1-3 days handling)
No hidden fees on orders under £135 (orders over £135 may have import duties)
Ships from China via tracked DDP service. Order by 12 AM London time for next-day dispatch.
30-Day Money-Back Guarantee
30-Day Money-Back Guarantee
Return unused items within 30 days (you pay return shipping). Faulty items covered at no cost to you.
Right Part Guarantee
Right Part Guarantee
Get exactly what you ordered or your money back, including shipping. 30 days, no questions asked.
Hassle-Free Returns
Hassle-Free Returns
Start your return online in seconds. No forms, no hassle.
Trusted by 80,000+ DIY & repair professionals
2. Material: PET Metal Heating Film
3. Input voltage: 12V
4. Product power: 10W (power on one side) and 20W on both sides
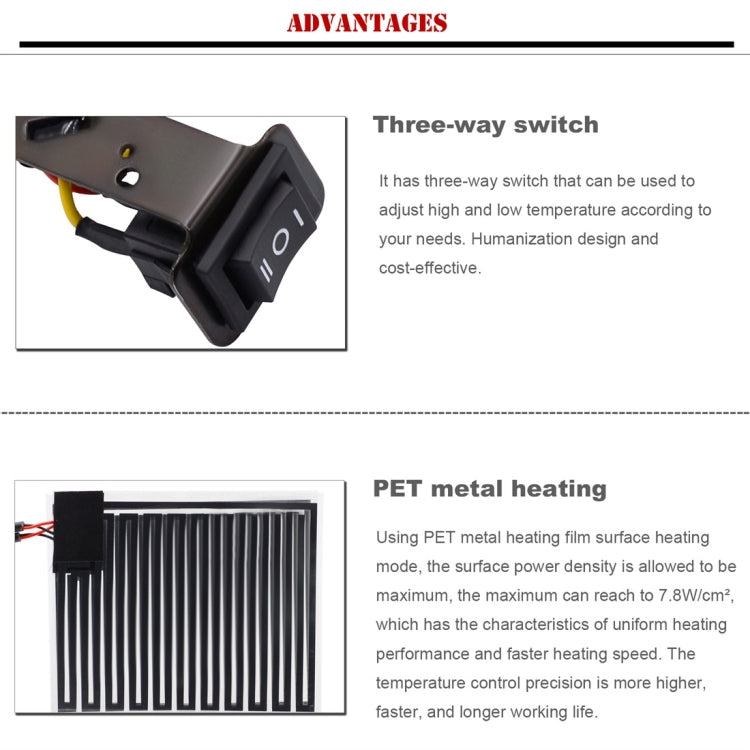
5. Switch type: three-gear adjustable switch
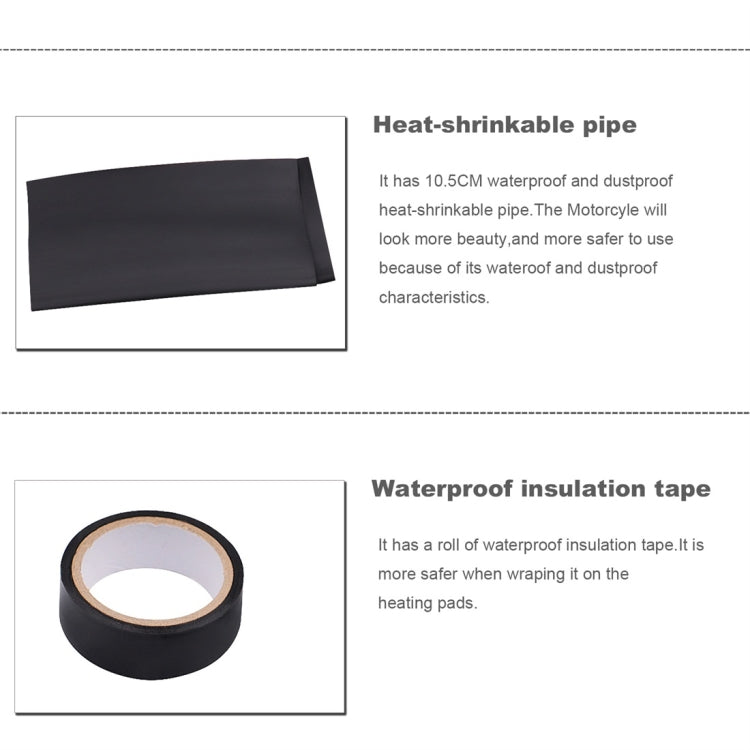
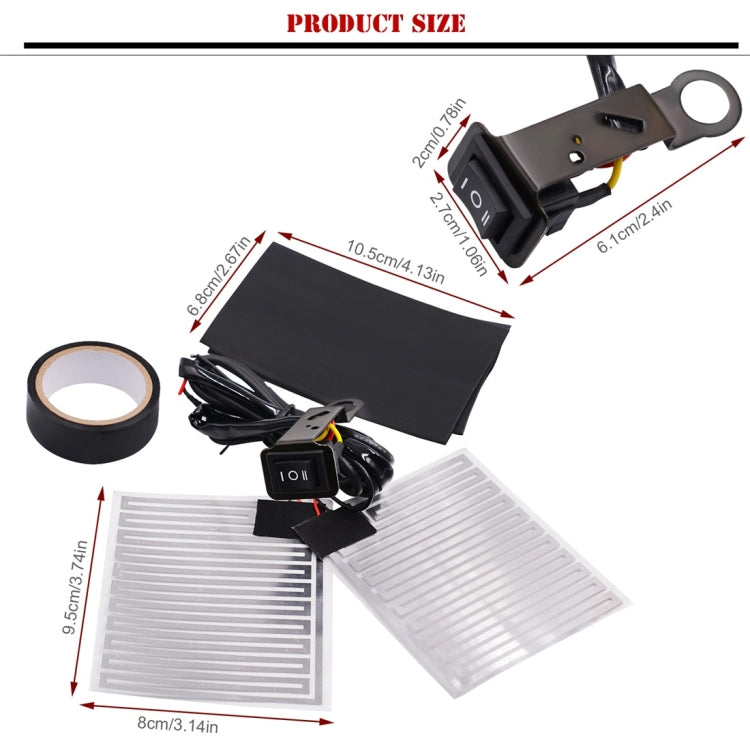
6. Product accessories: a pair of left and right hands, a pair of heat shrinkable sleeves, a waterproof insulation tape, a manual
7. Adopt a simple modification method, that is, non-destructive appearance, easy to operate and easy to install.
8. Using PET metal heating film, the heating speed is very fast, several seconds fast, safe and fast.
9. Using three-gear adjustable switch, we can adjust the high and low temperature at will according to our own needs, and design a very humanized one.
10. Switch design, can be directly installed on the mirror seat of rearview mirror, without drilling, without damage, very simple
11. Net weight: 71g
12. Size: 9.5x8cm
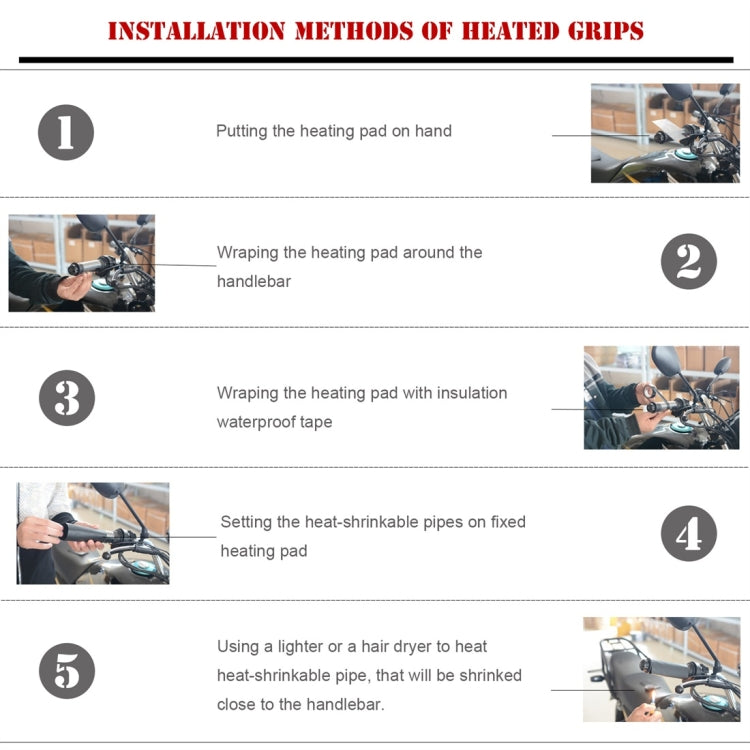
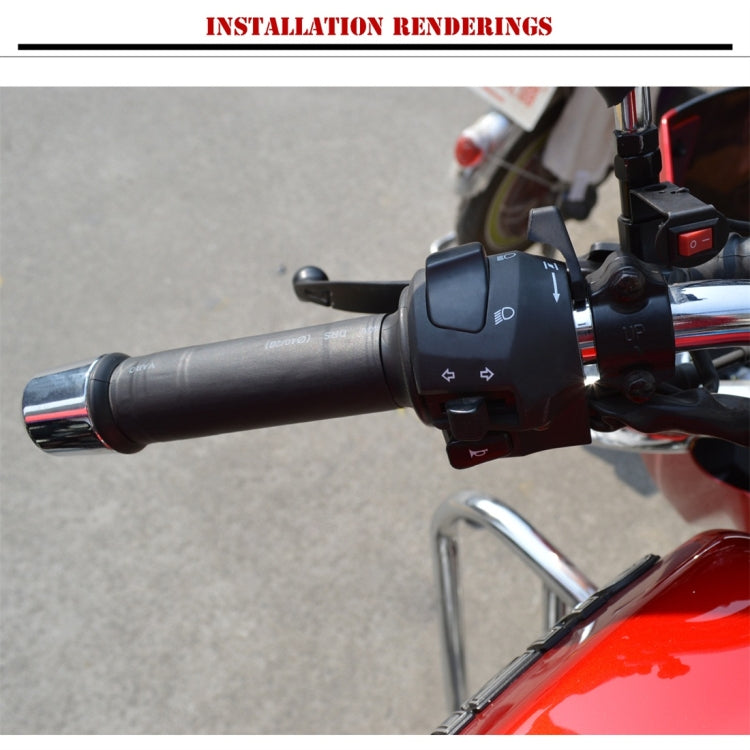
Installation method:
1. Put the heater on the handlebar and adjust it to the right position.
2. Use tape to fix (wrap) the heater evenly on the handlebars, especially at the junction of the heater.
3. Put on the casing, adjust the position, and use the hot air gun (or lighter or blower) to blow the two folds of the casing longitudinally and symmetrically until the contraction is uniform, then blow the other parts evenly until the contraction of each part of the casing is uniform and even.
4. The switch is installed under the mirror pole of the rearview mirror.
5. Connect the power cord, red and black wires are positive and negative, but must be connected to the lower pole output line of the door lock (where the key is inserted).
Guaranteed fit for your device. Wrong part? Full refund including shipping.
Share


