buy2fix
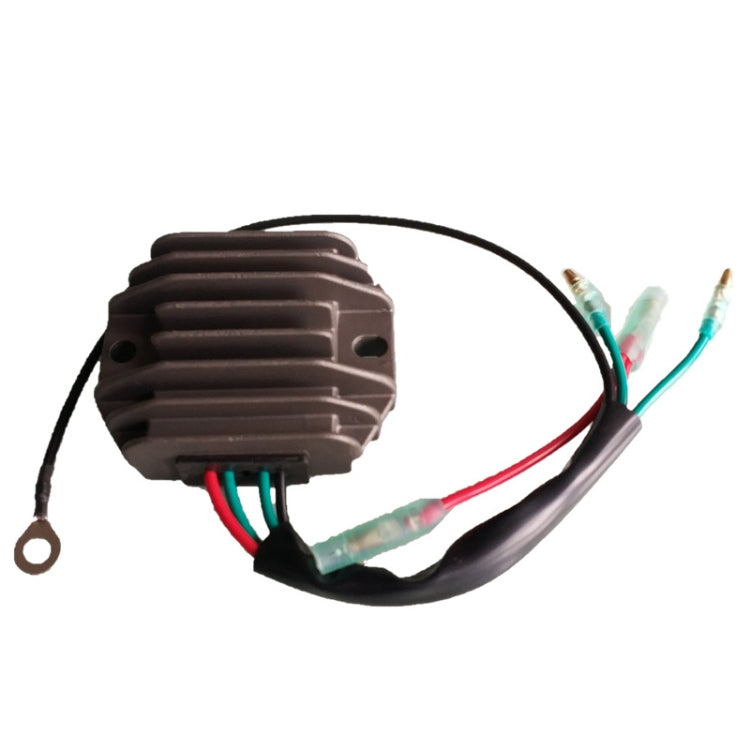
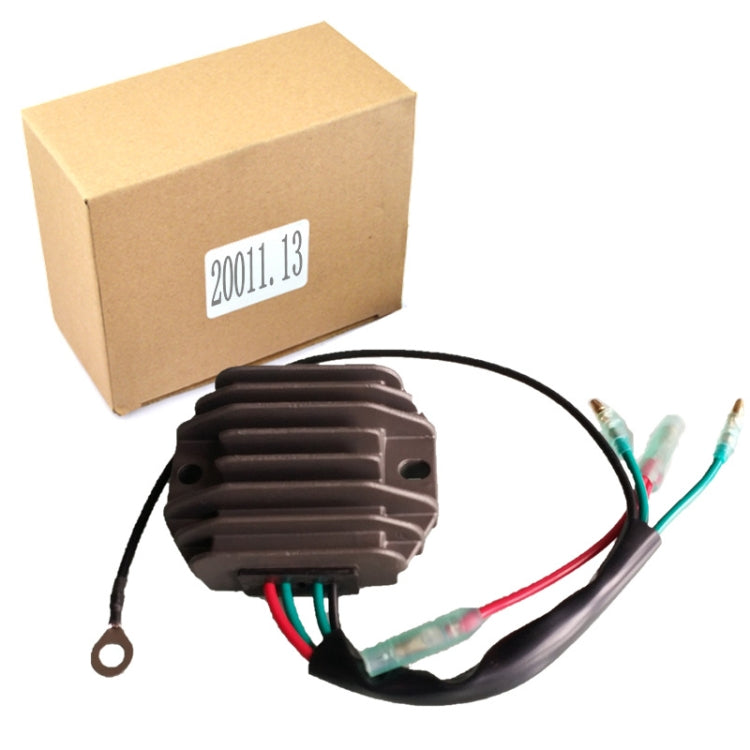
2011.13 Motorcycle Rectifier For YAMAHA 15HP 20HP / SH76314 6ah-81960-00-00
2011.13 Motorcycle Rectifier For YAMAHA 15HP 20HP / SH76314 6ah-81960-00-00
Estimated delivery:
Couldn't load pickup availability
Shipping Information
Shipping Information
FREE SHIPPING to UK & 40+ countries. Fully insured.
Delivery: Estimated times shown at checkout based on your location (typically 6-13 days total including 1-3 days handling)
No hidden fees on orders under £135 (orders over £135 may have import duties)
Ships from China via tracked DDP service. Order by 12 AM London time for next-day dispatch.
30-Day Money-Back Guarantee
30-Day Money-Back Guarantee
Return unused items within 30 days (you pay return shipping). Faulty items covered at no cost to you.
Right Part Guarantee
Right Part Guarantee
Get exactly what you ordered or your money back, including shipping. 30 days, no questions asked.
Hassle-Free Returns
Hassle-Free Returns
Start your return online in seconds. No forms, no hassle.
Trusted by 80,000+ DIY & repair professionals
1. Weight: 150G
2. Output voltage: 14.5V
3. Output current: 20A
4. Heat dissipation material: aluminum heat dissipation shell
Applicable models:
For SH76314 6ah-81960-00-00 6H0-81960-00
For Yamaha 4 Stroke 15HP 20HP F15 F20 Outboard Engine
Installation precautions:
1. The rectifier should be installed in a location with good ventilation and good heat dissipation. High temperature will be generated when the rectifier is working, and poor heat dissipation will damage the rectifier
2. The installation steps of the rectifier are to connect the AC input line, the positive and negative outputs are not connected, start the locomotive, measure the positive and negative output voltages, and when the voltage range is reasonable, plug in the positive and negative wires, and then test the positive and negative of the battery or rectifier Check whether the voltage at the end is within a reasonable range. If the voltage range is unreasonable, stop using it and give feedback. The entire installation process should be recorded and saved.
3. Note that the rectifier should be closely attached to the frame when installing it, which is good for heat conduction. You can also add thermally conductive glue between the rectifier and the frame
4. No other wires should be pressed between the rectifier and the frame
5. There should be a fuse fuse between the positive outlet of the rectifier and the battery to prevent the overvoltage from burning out other electrical devices when the rectifier is damaged.
Guaranteed fit for your device. Wrong part? Full refund including shipping.
Share


