buy2fix
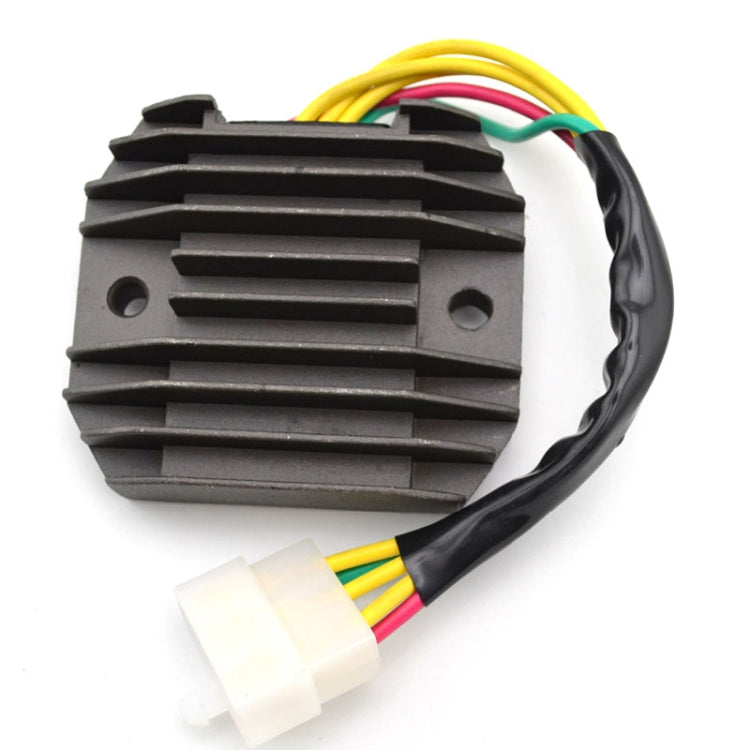
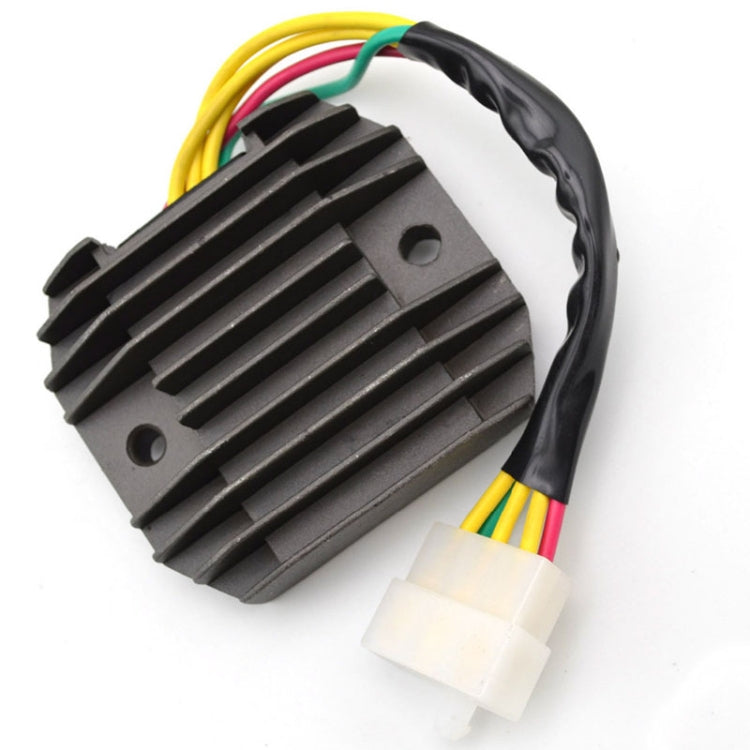
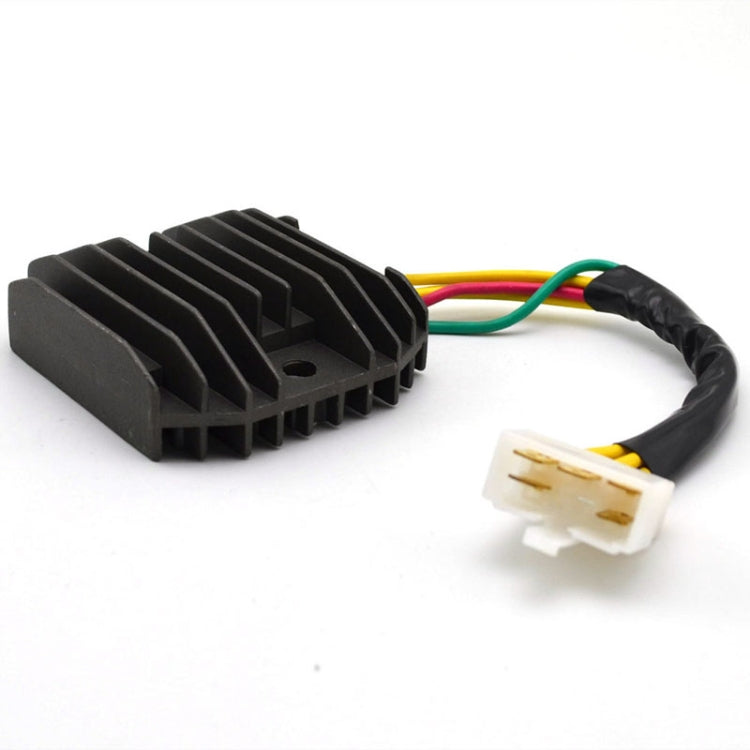
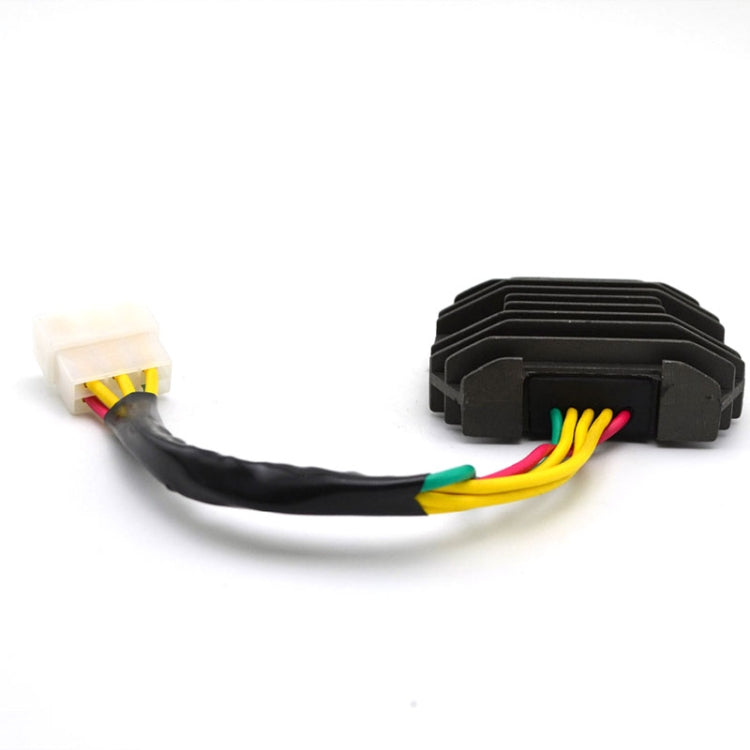
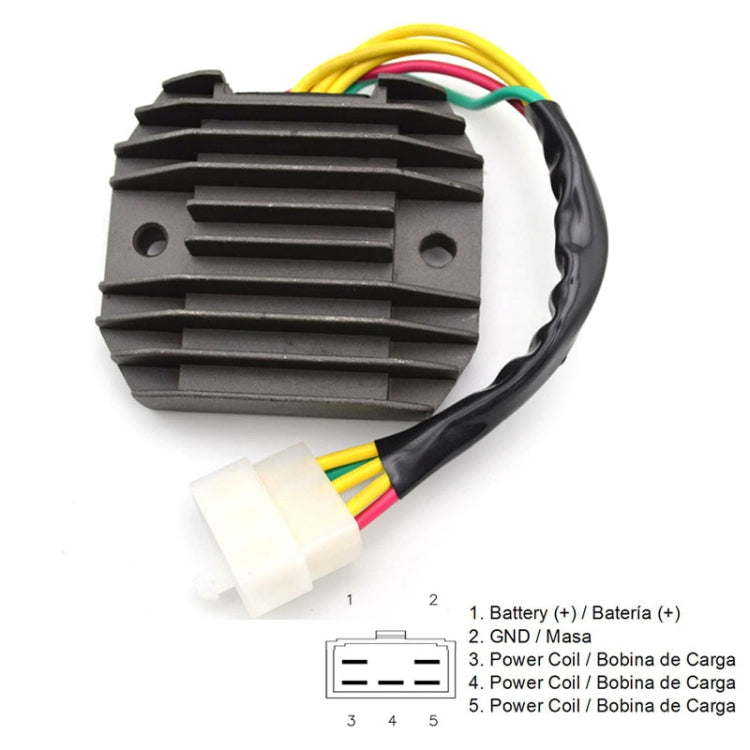
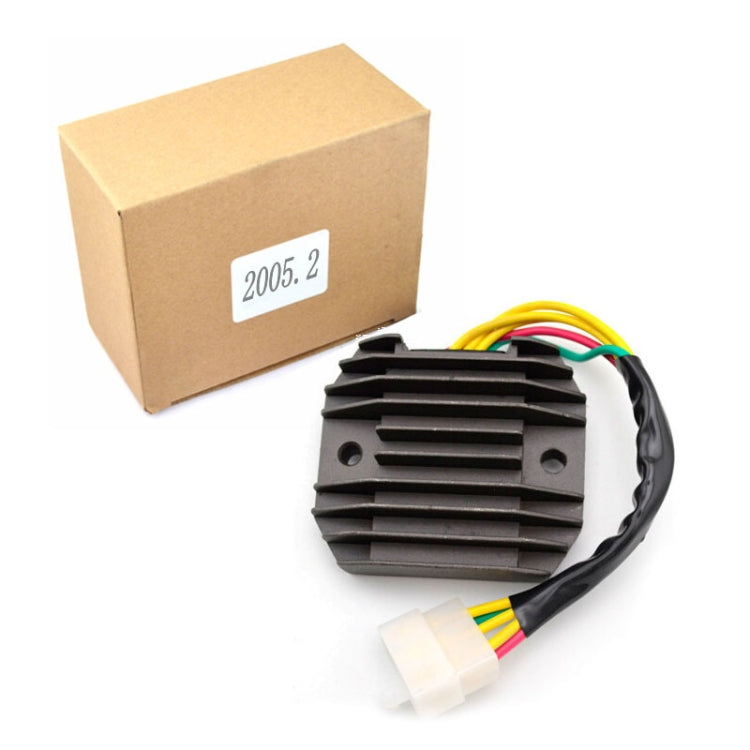
2005.2 Motorcycle Rectifier For Kawasaki / Yamaha XVZ1300 A
2005.2 Motorcycle Rectifier For Kawasaki / Yamaha XVZ1300 A
Estimated delivery:
Couldn't load pickup availability
Shipping Information
Shipping Information
FREE SHIPPING to UK & 40+ countries. Fully insured.
Delivery: Estimated times shown at checkout based on your location (typically 6-13 days total including 1-3 days handling)
No hidden fees on orders under £135 (orders over £135 may have import duties)
Ships from China via tracked DDP service. Order by 12 AM London time for next-day dispatch.
30-Day Money-Back Guarantee
30-Day Money-Back Guarantee
Return unused items within 30 days (you pay return shipping). Faulty items covered at no cost to you.
Right Part Guarantee
Right Part Guarantee
Get exactly what you ordered or your money back, including shipping. 30 days, no questions asked.
Hassle-Free Returns
Hassle-Free Returns
Start your return online in seconds. No forms, no hassle.
Trusted by 80,000+ DIY & repair professionals
1. Weight: 260G
2. Output voltage: 14.5V
3. Category: Three-phase full-wave rectifier
4. Wire length: 25CM
Applicable models:
Suitable for YHC015/SKU254609
Suitable for Yamaha XVZ1300 A/AT Royal Star/ Tour Classic 1996-2000
Suitable for Yamaha FZS600 Fazer 1998-2003
Suitable for Yamaha XV1200 TD Venture '85-86'3
For Yamaha XV250 Virago
Suitable for Suzuki GSXR250
Suitable for Suzuki GSXR400 GK71A
Suitable for Suzuki GSXR400 GK73A
Installation Precautions:
1. The rectifier should be installed in a place with good ventilation and good heat dissipation. The rectifier will produce high temperature when it is working, and poor heat dissipation will damage the rectifier
2. The installation procedure of the rectifier is to connect the AC input line, not connect the positive and negative output, start the locomotive, measure the positive and negative output voltage, and insert the positive and negative power supply when the voltage range is reasonable. Negative, then test the positive and negative of the battery or rectifier. If the voltage range is unreasonable, please stop using it and provide feedback. The entire installation process should be recorded and saved.
3. Please note that the rectifier should be tightly installed on the frame during installation, which is conducive to heat conduction. You can also add thermal glue between the rectifier and the frame
4. Do not press other wires between the rectifier and the frame
5. There should be a fuse between the positive socket of the rectifier and the battery to prevent damage to the rectifier when the voltage is too high and other electronic components are burned.
Guaranteed fit for your device. Wrong part? Full refund including shipping.
Share
