

Tablet Display Assembly Explained: Vital Repair Insights
More than 60 British technicians and DIY enthusiasts each week face display-related tablet failures that demand serious skill and precision. As tablets grow more complex with every new model, reliable screen repairs become a major concern for those dedicated to professional service quality. Gaining a clear understanding of tablet display assemblies gives British repair experts a decisive advantage for efficient troubleshooting, accurate installations, and higher customer satisfaction.
Table of Contents
- Tablet Display Assembly Defined and Debunked
- Leading Types of Tablet Display Assemblies
- Main Components and How They Operate
- Repair Process: Step-by-Step Breakdown
- Risks, Costs, and Common Installation Errors
Key Takeaways
| Point | Details |
|---|---|
| Complexity of Assemblies | Tablet display assemblies consist of multiple layers and components that work together to provide visual output and user interaction efficiently. |
| LCD vs. OLED | Understanding the differences between LCD and OLED technologies is crucial for optimal performance and repair considerations. |
| Repair Challenges | Common installation errors, such as misalignment and inadequate adhesion, can significantly impact functionality and repair costs, necessitating precision in repairs. |
| Professional Repair Strategies | Employing professional-grade tools and following systematic procedures are essential for ensuring successful repairs and avoiding escalation of repair costs. |
Tablet Display Assembly Defined and Debunked
A tablet display assembly represents the sophisticated multilayered component responsible for visual output and user interaction in modern electronic devices. Unlike simplistic assumptions, these assemblies are intricate systems comprising multiple precisely engineered layers that work seamlessly to deliver crisp, responsive visual experiences. Complex display manufacturing processes reveal the nuanced engineering behind these critical device interfaces.
Typically, a tablet display assembly includes several key components: the protective glass layer, touch-sensitive panel, liquid crystal or OLED substrate, backlight unit, and connecting flex circuits. Each layer plays a crucial role in translating electrical signals into visible images while maintaining structural integrity and responsive touch capabilities. Modern assemblies are designed with intricate snap-fit connections that balance ease of assembly, durability, and potential repairability.
The manufacturing complexity extends beyond simple component placement. Engineers must consider assembly forces, alignment precision, and material compatibility to create display modules that withstand daily usage. Design for disassembly principles have become increasingly important, focusing on creating tablet display assemblies that can be efficiently repaired or recycled without compromising performance.
Pro tip: When examining a tablet display assembly, look for subtle alignment markers and connection points that indicate professional manufacturing standards and potential repairability.
Leading Types of Tablet Display Assemblies
Tablet display technologies have evolved significantly, with two primary assembly types dominating the market: Liquid Crystal Display (LCD) and Organic Light-Emitting Diode (OLED) assemblies. Display technology comparisons reveal nuanced differences that impact visual performance, energy efficiency, and manufacturing complexity.
LCD tablet display assemblies remain widely used, with several subcategories including Twisted Nematic (TN), In-Plane Switching (IPS), and Vertical Alignment (VA) panels. Each variant offers unique characteristics: TN panels provide faster response times, IPS displays deliver superior colour reproduction and wider viewing angles, while VA panels excel in high contrast ratios. These display technology variations demonstrate the sophisticated engineering behind modern tablet interfaces.
OLED display assemblies represent a more advanced technology, with Active-Matrix Organic Light-Emitting Diode (AMOLED) being particularly prominent in high-end tablets. Unlike LCD variants, OLED displays generate light directly from individual pixels, enabling deeper blacks, more vibrant colours, and potentially thinner device profiles. These displays eliminate the need for backlighting, resulting in improved energy efficiency and enhanced visual performance.
Here’s a concise comparison of LCD and OLED tablet display assemblies:
| Attribute | LCD Assemblies | OLED Assemblies |
|---|---|---|
| Light Source | External backlight | Self-emissive pixels |
| Thickness Potential | Moderately slim | Ultra-thin possible |
| Typical Energy Efficiency | Moderate; backlight always on | High; only active pixels consume power |
| Visual Performance | Good, but limited black levels | Superior contrast and colour depth |
| Repair Complexity | More established methods | Requires specialist skills |
Pro tip: When selecting a tablet display assembly for repair, carefully assess the specific display technology to ensure component compatibility and optimal performance restoration.
Main Components and How They Operate
Tablet display assemblies represent complex systems comprising multiple intricate components that work together to deliver seamless visual experiences. Key display component interactions reveal a sophisticated engineering process that transforms electrical signals into vibrant visual output.
The core components of a tablet display assembly typically include several critical layers: glass substrates, thin film transistor (TFT) arrays, liquid crystal or emissive layers, polarising filters, and touch-sensitive digitizers. Each layer serves a specific function in the display’s operational mechanism. The TFT array acts as a precise electrical grid, controlling individual pixel activation, while the liquid crystal or OLED layers modulate light transmission or emission to create images. Polarising filters strategically manage light orientation, enhancing visual clarity and reducing unwanted reflections.
Touch digitizer systems add another layer of complexity, integrating capacitive or resistive sensing technologies that enable user interaction. Mobile display component technologies demonstrate how these components synchronise to convert electrical signals into responsive, high-quality visual interfaces. The backlight module, particularly in LCD displays, provides essential illumination, ensuring consistent brightness and colour reproduction across different viewing conditions.
Pro tip: When diagnosing tablet display assembly issues, methodically test each component layer to isolate the specific source of malfunction and ensure precise repair strategies.
Repair Process: Step-by-Step Breakdown
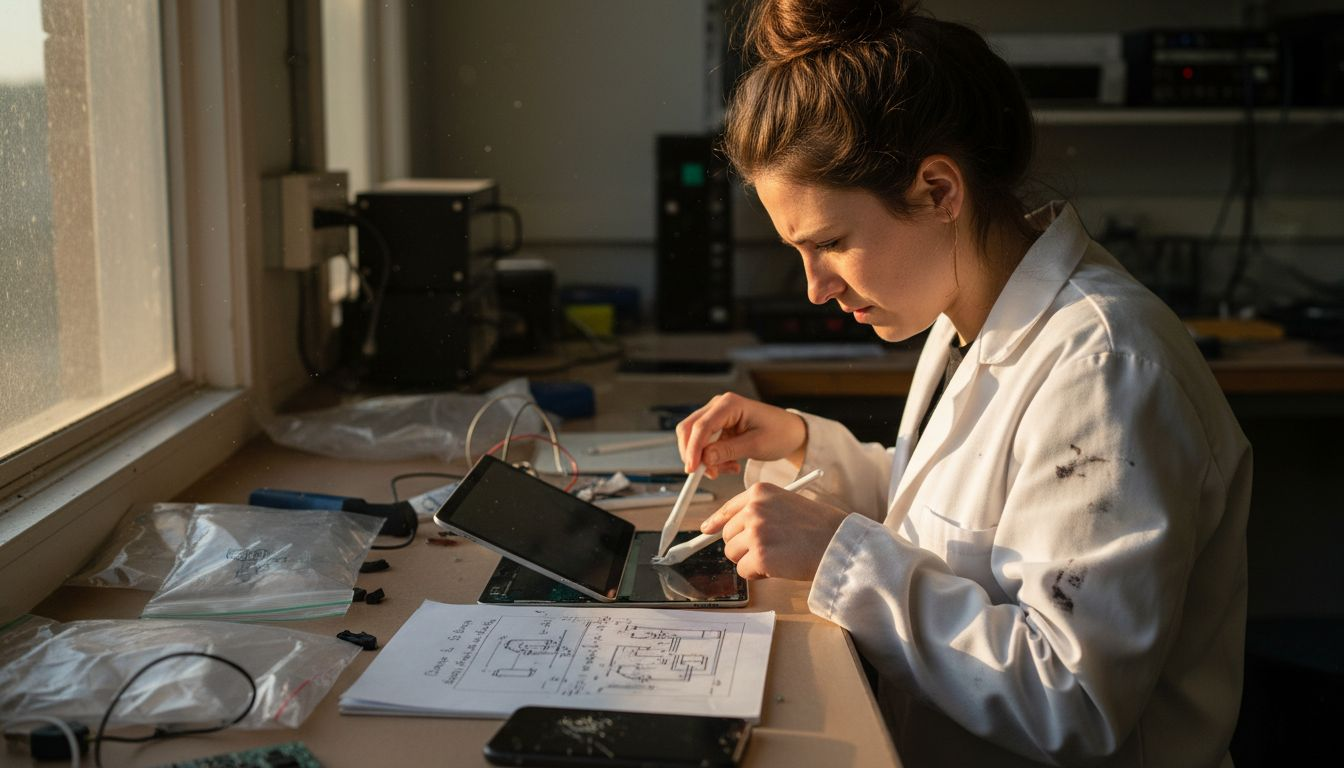
Repairing a tablet display assembly requires methodical precision and carefully orchestrated steps to ensure successful restoration. Screen replacement techniques demand technical expertise and a systematic approach to minimise potential damage during the repair process.
The repair procedure begins with comprehensive diagnostic assessment. Technicians must first isolate the specific component failure by conducting detailed visual and functional examinations. This involves testing touch responsiveness, examining display colour uniformity, identifying pixel damage, and checking for physical cracks or structural compromises. Critical preparation steps include gathering appropriate tools such as precision screwdrivers, anti-static wrist straps, suction cups, prying tools, and specialised display assembly adhesives.
Subsequent stages involve carefully disassembling the tablet, removing the damaged display assembly with minimal risk to surrounding components. This requires understanding the specific attachment mechanisms unique to different tablet models, which might include adhesive bonds, snap-fit connectors, or delicate flex cable connections. Precise removal techniques prevent secondary damage to sensitive internal electronics, ensuring the integrity of motherboard connections, battery interfaces, and other critical subsystems.
Pro tip: Always photograph each disassembly stage and organise removed components systematically to facilitate accurate reassembly and prevent misplacement of critical small parts.
Risks, Costs, and Common Installation Errors
Tablet display assembly repairs involve multiple potential risks that can dramatically escalate repair costs and compromise device functionality. Common tablet manufacturing defects highlight the intricate challenges technicians face during restoration processes, revealing the nuanced complexities of electronic component repair.
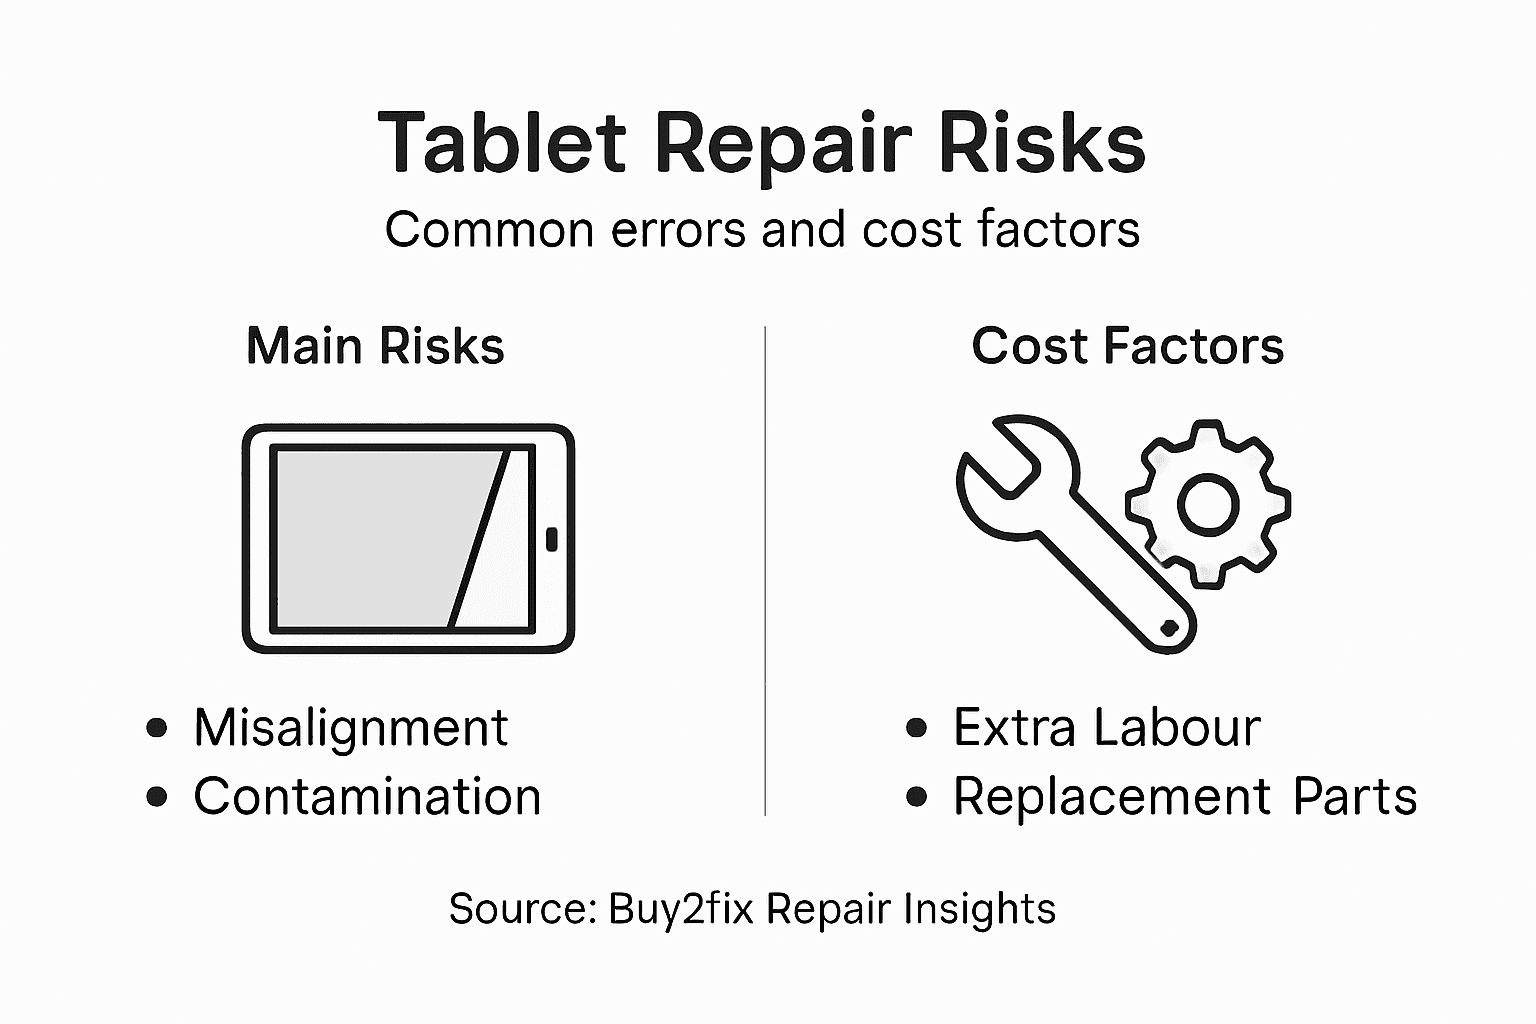
The most prevalent installation errors typically stem from misalignment, contamination, and improper connection techniques. Technicians frequently encounter issues such as incorrect adhesive application, which can lead to display separation, reduced touch sensitivity, or complete display failure. Precise torque application and connection integrity are critical, as even microscopic misalignments can result in electrical connectivity problems that render entire display assemblies non-functional. Industrial assembly error prevention emphasises the importance of standardised processes and meticulous attention to detail.
The following table summarises common tablet display assembly installation errors and their impacts:
| Installation Error | Typical Impact | Avoidance Strategy |
|---|---|---|
| Poor alignment | Touch insensitivity, display malfunction | Use alignment markers, precision tools |
| Contaminated assembly | Visual artefacts, reduced lifespan | Clean environment, anti-static measures |
| Inadequate adhesive | Screen separation, water ingress | Apply adhesive evenly and securely |
| Faulty cable connection | Dead pixels, no image | Inspect flex cables before reassembly |
Cost implications of these errors can be substantial, with improper repairs potentially requiring complete display assembly replacement. Professional repair centres estimate that minor installation mistakes can increase repair costs by 150-200%, making precision and expertise paramount. Diagnostic errors, component mishandling, and inadequate static protection are primary contributors to escalating repair expenses, underscoring the necessity of professional-grade tools and comprehensive technical knowledge.
Pro tip: Invest in professional-grade anti-static equipment and precision tools to minimise the risk of costly installation errors and protect sensitive electronic components during tablet display assembly repairs.
Expert Solutions for Tablet Display Assembly Repairs
Understanding the complexities behind tablet display assemblies such as LCD and OLED technologies is crucial for effective repair. This article highlights common challenges like precise alignment, delicate cable connections, and avoiding installation errors that can lead to costly damages or device malfunction. If you want to restore your tablet to its best performance, having access to high-quality parts and professional-grade tools is essential.
At Buy2fix, we provide a comprehensive range of replacement tablet display assemblies, flex cables, and essential repair components designed to meet the demands of both DIY enthusiasts and professional technicians. Benefit from our rigorous quality assurance, free UK mainland shipping, and expert advice tailored for intricate repairs. Don’t let a faulty display hold you back—explore our selection now and ensure your next repair is precise and reliable by visiting Tablet & Laptop Parts for the latest components.
Take the confident step today to fix your tablet with the right parts and guidance at Buy2fix and experience speedy, dependable repairs that save you time and money.
Frequently Asked Questions
What is a tablet display assembly?
A tablet display assembly is a complex multi-layered system responsible for visual output and user interaction in tablets, comprising components like protective glass, touch-sensitive panels, and liquid crystal or OLED substrates.
What are the main types of tablet display assemblies?
The two primary types of tablet display assemblies are Liquid Crystal Display (LCD) and Organic Light-Emitting Diode (OLED) assemblies, each offering distinct visual performance, energy efficiency, and manufacturing processes.
How do I repair a tablet display assembly?
Repairing a tablet display assembly involves diagnosing the issue, disassembling the tablet, carefully removing the damaged assembly, and replacing it with a compatible component, all while following precise techniques to avoid further damage.
What common errors occur during tablet display assembly installation?
Common errors include poor alignment, contamination, inadequate adhesive application, and faulty cable connections, which can significantly affect the display’s performance and may increase repair costs.
Recommended
Let customers speak for us
For Samsung Galaxy A26 SM-A266B Original Earpiece Speaker with Cable

Very good communication throught. Good product

Well made part very strong easy to fit great value for the money

Well packed, with fast shipping :)

Exactly what the doctor ordered…great color, comfort, and durability. Trust this watch band!

Brilliant strap, second purchase, bought bracelet before. Excellent value. Thank you

Great item for splitting your Audio signal

Outstanding product!
Next level customer service.

Very satisfied but the delivery needs to get more faster...

Good price,quick delivery

Best phone case ever! This is my second one as I broke my first. Would defo recommend

Great fitting Apple Watch bands

For Apple Watch Ultra 3 / 2 / 1 49mm RedPepper Armor Metal Case Integrated Silicone Watch Band(Steel Black White)

Good price and quick postage

