

Ultimate Mobile Device Screen Replacement Guide for 2025
Mobile phone screens are surprisingly fragile with over 50 million people in the UK alone breaking their device screens every year. It might sound fiddly and even risky to swap a broken screen yourself instead of handing it over to a shop. Yet with the right tools and a clear step-by-step plan, nearly anyone can pull off a pro-level screen replacement right at the kitchen table.
Table of Contents
- Step 1: Gather Your Essential Tools And Parts
- Step 2: Power Off And Prepare Your Device
- Step 3: Remove The Damaged Screen Carefully
- Step 4: Install The New Screen Securely
- Step 5: Test The New Screen For Functionality
- Step 6: Finalise The Replacement And Clean Up
Quick Summary
| Key Point | Explanation |
|---|---|
| 1. Assemble a precise toolkit | Gather a comprehensive repair kit including screwdrivers, spudgers, and suction cups for efficient screen replacement. |
| 2. Backup your device data | Ensure all important data is backed up before starting the repair to prevent loss in case of issues. |
| 3. Follow manufacturer-specific instructions | Each smartphone has unique assembly requirements; refer to your device’s manual or online guides for accurate steps. |
| 4. Test functionality post-installation | After installing the new screen, perform tests on responsiveness, brightness, and colour accuracy to confirm successful repair. |
| 5. Clean and prepare for future use | Remove adhesive remnants, clean the screen, and consider applying a screen protector for added durability. |
Step 1: Gather Your Essential Tools and Parts
Successful mobile device screen replacement begins with precise preparation and the right equipment. Professional technicians understand that having a comprehensive toolkit is crucial for a smooth, efficient repair process. Your first step involves assembling a collection of specialised tools and genuine replacement parts that will ensure a high-quality screen replacement.
Your essential toolkit should include precision instruments designed specifically for delicate smartphone repairs. According to Elon University’s Maker Hub, a comprehensive repair kit typically contains:
- Precision screwdriver set with multiple bit sizes
- Anti-static wrist strap to prevent electronic damage
- Plastic opening tools for safe device disassembly
- Fine-tipped tweezers for handling small components
- Suction cup for screen removal
- Metal spudgers and plastic pry tools
Before starting your repair, verify you have a compatible replacement screen matching your specific mobile device model. Screen compatibility is not universal - each smartphone has unique display specifications including connector type, resolution, and physical dimensions. Purchase replacement screens from reputable suppliers who provide detailed compatibility information and warranty coverage.
Additionally, prepare a clean, well-lit workspace with ample room to organize your tools and device components. Soft, non-conductive surfaces like an anti-static mat help prevent accidental damage during the repair process. Having excellent lighting and magnification tools like a desk lamp or magnifying glass can significantly improve your precision and reduce the risk of mistakes.
Below is a summary table outlining the essential tools and their purposes required for a mobile device screen replacement as described in the article.
| Tool | Purpose |
|---|---|
| Precision screwdriver set | Remove and secure small screws without damaging device |
| Anti-static wrist strap | Prevent electronic damage from static electricity |
| Plastic opening tools | Safely disassemble device without scratching surfaces |
| Fine-tipped tweezers | Handle and position small components accurately |
| Suction cup | Aid in gently lifting the screen during removal |
| Metal spudgers and pry tools | Loosen adhesive and pry open device casings |
Professional technicians recommend creating a systematic workspace layout before beginning disassembly.
The following table summarises all main steps of mobile device screen replacement, providing an overview of the process along with the key objective for each stage.
| Step | Key Objective |
|---|---|
| Gather essential tools and parts | Assemble all required equipment and compatible screen |
| Power off and prepare your device | Protect internal components and backup data |
| Remove the damaged screen carefully | Detach old screen without causing additional damage |
| Install the new screen securely | Fit and align new screen, ensuring proper connection |
| Test the new screen for functionality | Confirm successful operation and display quality |
| Finalise the replacement and clean up | Clean device, restore data, and apply protections |
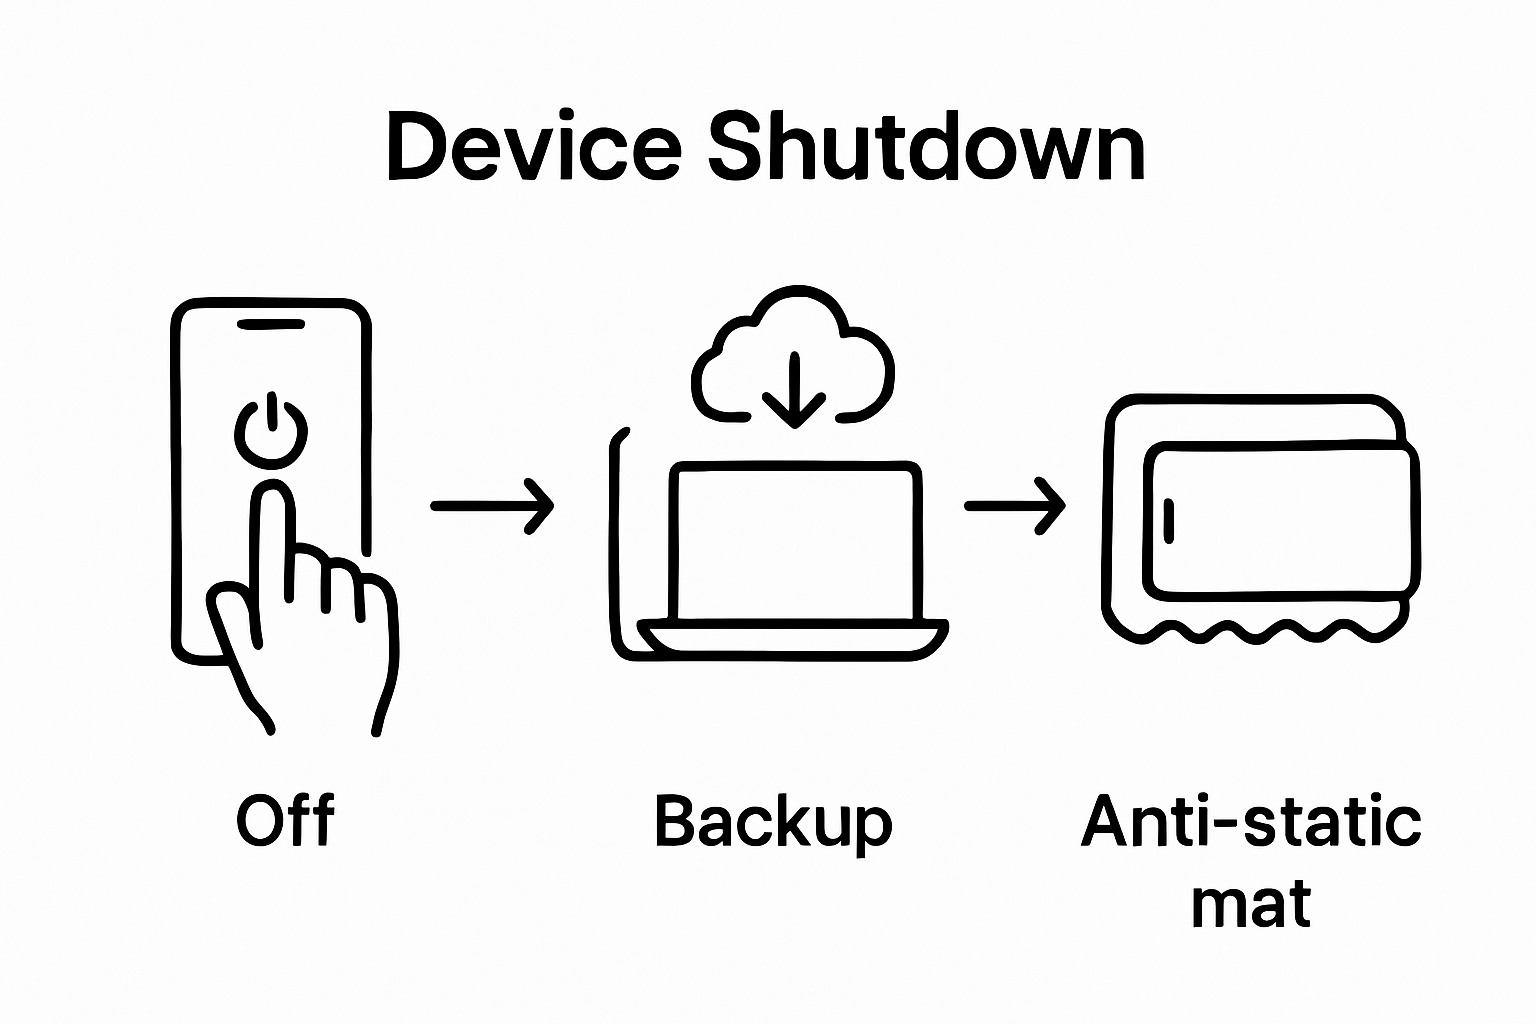
Step 2: Power Off and Prepare Your Device
Before initiating your mobile device screen replacement, proper device preparation is paramount to ensuring a safe and successful repair process. This critical step protects your device’s internal components, preserves your data, and minimises potential electrical risks during the repair.
According to the University of Wisconsin–Madison Information Technology department, data protection should be your primary consideration before any technical intervention. Begin by performing a comprehensive backup of your device to prevent potential data loss. If your smartphone supports cloud backup services or local computer backup, utilise these options to create a complete system and data backup.
To power off your device safely, press and hold the power button until the shutdown menu appears. For most smartphones, this involves holding the side or top power button and sliding or tapping the “Power Off” or “Shut Down” option. Some devices might require a specific button combination, so consult your device’s user manual if standard shutdown methods fail.
Once powered down, remove any external accessories that might interfere with the repair process. This includes:
- Protective cases
- Screen protectors
- Connected charging cables
- Wireless earbuds or other bluetooth accessories
Pro Tip: Before complete shutdown, ensure your device is at approximately 50% battery charge. This provides optimal safety during the repair process without risking electrical issues or potential short circuits. A device with extremely low or high battery levels can complicate the screen replacement procedure.
Create a clean, well-organised workspace with good lighting and a soft, non-conductive surface. An anti-static mat can help prevent potential electrical discharge that might damage sensitive electronic components. Organise your tools within easy reach and have a small container ready to safely store screws and tiny components you will remove during the screen replacement process.
Verify your workspace is free from moisture, extreme temperatures, and potential static electricity sources. A stable, flat surface with minimal distractions will help you maintain focus and precision throughout the repair procedure.
 Take a moment to mentally prepare and review your repair guide or tutorial to ensure you understand each subsequent step before beginning the disassembly process.
Step 3: Remove the Damaged Screen Carefully
Removing a damaged smartphone screen requires precision, patience, and methodical technique. This critical stage of mobile device screen replacement demands careful attention to prevent additional damage to your device’s internal components and electronic systems.
According to research from the University of California, smartphone screens are constructed with incredibly thin and fragile glass layers that can easily propagate cracks during removal. Understanding this delicate nature is crucial for a successful repair.
Begin by identifying the specific removal method for your device model. Different smartphone manufacturers use varying attachment mechanisms, including adhesive strips, clips, or screwed connections. Consult your device’s repair manual or online tutorial specific to your exact model to understand the precise disassembly technique.
Prepare your workspace by laying out your precision tools and having a clean, organised surface. Critical tools for screen removal include:
- Plastic pry tools
- Precision screwdriver set
- Suction cup
- Anti-static tweezers
- Magnifying glass
Start by carefully removing any external screws around the device’s edges or display frame. Use a magnetic screw holder to prevent losing these tiny components. Apply gentle, consistent pressure with your plastic opening tool, working slowly around the screen’s perimeter to release adhesive connections. A suction cup can help lift the screen slightly, providing leverage for careful separation.
As you begin detaching the screen, move incrementally and watch for connected ribbon cables underneath. These delicate connectors link the screen to the device’s motherboard and can be easily damaged if pulled too forcefully.
Use your anti-static tweezers to carefully disconnect these cables, ensuring you understand their precise attachment points before removal.
Proceed with extreme caution if your screen is significantly cracked or shattered. Wear protective gloves to prevent potential glass cuts, and consider using tape to stabilise fragmented screen sections during removal. If you encounter significant resistance or feel uncertain about any step, pause and reassess your approach or consider professional assistance.
Once the screen is fully detached, immediately place it in a safe, static-free container. Verify that no glass fragments remain attached to the device’s internal frame, and carefully inspect the connection points for any signs of additional damage.
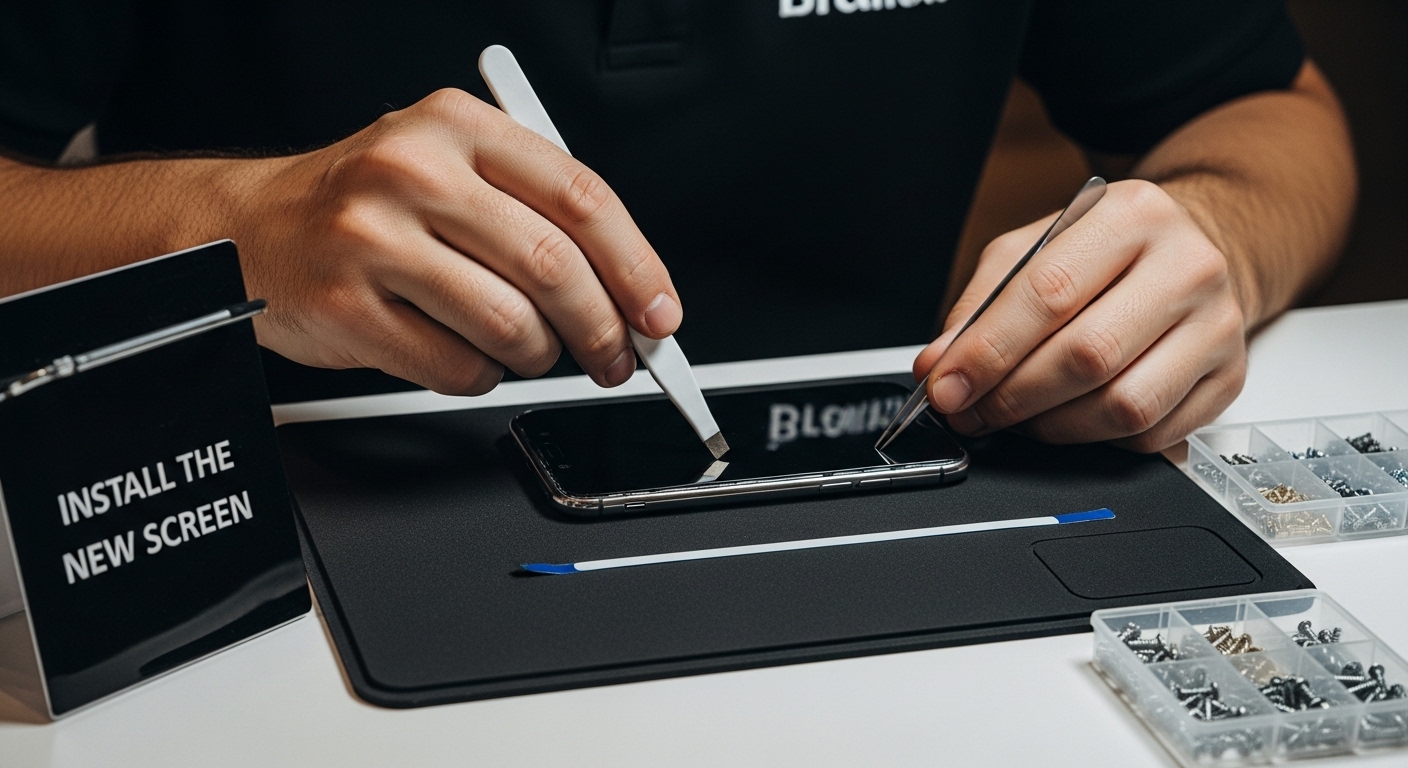
Step 4: Install the New Screen Securely
Installing a new smartphone screen demands precision, patience, and methodical attention to detail. This crucial stage of mobile device repair requires careful alignment, gentle handling, and systematic reconnection of delicate electronic components.
According to research from the University of Leeds, understanding the intricate nature of modern smartphone screens is essential for successful installation. Begin by carefully examining the new screen and comparing its physical dimensions and connector types with your device’s original specifications.
Start the installation process by positioning the replacement screen at a 45-degree angle, aligning its connector pins precisely with the device’s motherboard socket. Critical installation steps include:
- Gently insert connector pins without applying excessive force
- Ensure perfect alignment before pressing down
- Check for secure, even connection
- Verify no pins are bent or misaligned
Using your anti-static tweezers, carefully reconnect the display ribbon cables, applying minimal pressure to prevent potential damage. Each cable must be seated correctly, with no visible gaps or misalignment. Take your time during this process, as rushed movements can lead to permanent device damage.
Apply a thin, uniform layer of adhesive around the screen’s perimeter if your device requires it. Some smartphones use specialised adhesive strips, while others need a precise amount of liquid adhesive. Follow the manufacturer’s specific guidelines for your device model to ensure proper attachment.
Carefully lower the new screen into position, starting from one edge and gradually pressing down to eliminate air bubbles. Use your plastic opening tool to apply gentle, even pressure, working from the centre outwards. Avoid pressing directly on the screen surface to prevent potential damage to the display’s sensitive components.
Once the screen is seated, reinsert any securing screws using your precision screwdriver. Tighten these systematically and evenly, being careful not to over-tighten, which could crack the screen or damage the device’s frame.
Complete the installation by performing a visual inspection. Check for any dust, fingerprints, or imperfections beneath the screen. If everything appears correctly positioned, proceed to the final verification step of powering on your device and testing the new screen’s functionality.
Step 5: Test the New Screen for Functionality
After carefully installing your new smartphone screen, comprehensive functionality testing becomes crucial to ensure a successful repair. This final verification step will help you identify any potential installation issues and confirm that your device operates precisely as expected.
According to research from the 2024 CHI Conference on Human Factors in Computing Systems, mobile device interface evaluation requires systematic and thorough assessment. Begin by performing a gradual, step-by-step examination of your device’s core functions.
Initiate the device startup process and observe the initial boot sequence carefully. Watch for critical indicators of proper installation:
- Smooth, uninterrupted startup sequence
- Consistent screen brightness and color rendering
- Responsive touch capabilities across entire screen surface
- No visible dead pixels or display irregularities
Carry out a comprehensive touch sensitivity test by systematically checking every screen region. Open applications that require precise touch input, such as drawing apps, typing interfaces, and games that demand intricate finger movements. Pay special attention to screen corners and edges, ensuring consistent responsiveness and accurate input recognition.
Verify colour reproduction and display quality by viewing high-resolution images, watching videos, and examining text clarity across different applications. Compare the new screen’s performance with your device’s original display characteristics. Look for any variations in colour temperature, brightness levels, or potential colour shifting when viewed from different angles.
Test additional screen-dependent functions including automatic brightness adjustment, screen rotation, and touch gestures. Ensure features like pinch-to-zoom, multi-touch capabilities, and quick swipe responses function seamlessly. If your device supports advanced display technologies like HDR or high refresh rates, confirm these features remain intact after screen replacement.
Run a comprehensive diagnostic test using built-in device utilities or downloadable screen testing applications. These tools can help identify subtle display issues that might not be immediately apparent during standard usage. Check for uniform backlight distribution, pixel consistency, and potential touch input latency.
Should you encounter any anomalies during testing, carefully document the specific issues. Minor problems might be resolvable through recalibration or reconnecting display cables, while more significant complications could indicate a need for professional assessment or potentially replacing the screen again.
Step 6: Finalise the Replacement and Clean Up
Upon successfully replacing your mobile device screen, the final stage involves meticulous cleanup, data restoration, and preparing your device for continued use. This crucial step ensures your smartphone is not only functionally restored but also pristine and ready for immediate operation.
According to research from MIT materials scientist Robert Macfarlane, cleaning your new screen requires careful technique to preserve its protective coatings. Begin by gathering soft, lint-free microfibre cloths and a gentle screen cleaning solution specifically designed for electronic displays.
Critical clean-up steps include:
- Remove any residual adhesive around screen edges
- Clean screen surface using gentle, circular motions
- Inspect device frame for any remaining debris
- Wipe down external device surfaces
Carefully remove any protective films or stickers from your new screen, ensuring you do not apply excessive pressure that might damage the display. Use your microfibre cloth to gently wipe away fingerprints, dust, or potential adhesive residue. If stubborn marks persist, lightly dampen the cloth with a minimal amount of screen-safe cleaning solution, avoiding direct liquid application to the device.
Restore your previously backed-up data using your chosen backup method. Whether you used cloud services or a local computer backup, carefully transfer your applications, settings, and personal files. Verify that all critical information has been successfully restored and functions correctly on the new screen.
Consider applying a high-quality screen protector to provide additional defence against future scratches and minor impacts. Choose a protector specifically designed for your device model, ensuring precise cutouts for sensors, cameras, and edge features. Applying the protector carefully will help maintain your newly installed screen’s pristine condition.
Finally, perform a comprehensive system check. Update your device’s operating system to the latest version, which might include important display and touch sensitivity optimisations. Test all core functions again, including camera performance, touch responsiveness, and display colour accuracy.
If you encounter any persistent issues or notice unexpected screen behaviour, document the specific problems. While minor adjustments can often be resolved through software updates or recalibration, significant functional concerns might require professional assessment or potential screen replacement.
Replace Your Screen with Confidence – Find Every Quality Part at Buy2fix
Struggling with the stress of a cracked screen or a tricky mobile device repair? You deserve trusted parts and long-lasting solutions, whether you are a seasoned technician or a first-time DIY enthusiast. As our “Ultimate Mobile Device Screen Replacement Guide for 2025” explains, success depends heavily on using precise, model-specific components and professional repair tools. Too often, low-quality parts or incompatible screens lead to repeat problems or incomplete fixes.
Let your repair process be smooth from the start. At Buy2fix, you can source:
• Genuine and best quality LCD screens and assemblies for iPhone, Samsung, Huawei, Xiaomi, and many more
• Essential accessories like screen protectors and repair toolkits
• A massive range of specialist parts including connectors, flex cables, and back covers
Choose Buy2fix for quality assurance, a one-year warranty, and free UK mainland shipping. Browse our full range of mobile device repair parts to ensure your next screen replacement is both simple and reliable. Take action today and restore your device with confidence. Your perfect repair starts here – visit Buy2fix now and secure the parts you need for flawless results.
Frequently Asked Questions
What tools do I need for a mobile device screen replacement?
You will need a precision screwdriver set, an anti-static wrist strap, plastic opening tools, fine-tipped tweezers, a suction cup, and metal spudgers. Having these tools allows for safe disassembly and assembly, ensuring a smooth repair process.
How can I ensure my replacement screen is compatible with my device?
To ensure compatibility, verify that the replacement screen matches your specific mobile device model, including connector type, resolution, and physical dimensions. Purchasing from reputable suppliers who provide detailed compatibility information is strongly advised.
What steps should I take before starting the screen replacement process?
Before starting, back up your device to prevent data loss, power it off, and remove any external accessories like protective cases. Create a clean, well-organised workspace on a non-conductive surface to minimise the risk of damage during the repair.
How do I test the new screen after installation?
Once the new screen is installed, power on the device and observe the startup sequence. Check for smooth operation, touch responsiveness, and display quality by testing various functions such as pinch-to-zoom and rotation. Conduct a thorough diagnostic test using built-in utilities or downloadable applications to identify any subtle display issues.
Recommended
- Front Screen Outer Glass Lens with OCA Optically Clear Adhesive for Xi – buy2fix
- WLXY-9312 14 in 1 Non-Slip Metal Handle Engraving Cutter – buy2fix
- Front Screen Outer Glass Lens with OCA Optically Clear Adhesive for Xi – buy2fix
- Front Screen Outer Glass Lens with OCA Optically Clear Adhesive for Xi – buy2fix
Let customers speak for us
Best phone case ever! This is my second one as I broke my first. Would defo recommend

Great fitting Apple Watch bands

For Apple Watch Ultra 3 / 2 / 1 49mm RedPepper Armor Metal Case Integrated Silicone Watch Band(Steel Black White)

Good price and quick postage

Perfect fit.

Absolutely necessary

Second Purchase and still a very happy customer. Keep up the good work.


For Xiaomi Smart Band 9 Active / Redmi Band 3 Mijobs Metal Shell Silicone Watch Band(Grey Silver)

Was worried I’d have to buy a new vacuum as mine had gone outside of the 2-year warranty, and all for a snapped clip. Really good replacement and easy to fit.

Exactly what I needed. Perfect to size. Fresh look!

Excelent service

For Garmin Venu 3 22mm Two Color Textured Silicone Watch Band(White+Grey)

Looks great and suites the purpose. Decent quality

Product was exactly as advertised. Happy with the process and this company.
