

Laptop battery replacement tips: DIY guide for 2026
TL;DR:
- Replacing a laptop battery restores performance at a low cost compared to buying a new device and requires about an hour.
- Proper diagnosis, tool use, and post-replacement habits, such as calibration and heat management, extend battery life.
Laptop battery replacement is the process of removing a degraded lithium-ion cell pack and fitting a compatible new unit to restore full runtime and performance. Done correctly, it costs a fraction of buying a new machine and takes under an hour for most models. This guide covers every stage: spotting the signs you need a new battery, choosing the right replacement, gathering the correct tools, executing the swap safely, and keeping your new battery healthy for years. Dell laptops feature throughout as practical examples, though the principles apply across most brands.
What are the signs you need a new laptop battery?
A failing battery rarely dies without warning. The most common indicators are a sharp drop in runtime, unexpected shutdowns at 20–40% charge, and a battery indicator that reads full but drains within minutes. Physical swelling is the most urgent sign. A swollen battery pushes the bottom panel outward or causes the keyboard to lift. Stop using the laptop immediately if you notice this.
Before you commit to a replacement, run a battery health report. On Windows, open Command Prompt as administrator and type powercfg /batteryreport. The report shows design versus full charge capacity, which tells you exactly how much capacity your battery has lost. A battery retaining less than 60% of its original design capacity is a strong candidate for replacement.
Pro Tip: On Dell laptops, Dell Power Manager provides a built-in health assessment that goes beyond the Windows report. It categorises battery condition as Normal, Caution, or Replace, removing any guesswork.
Not every battery problem signals a failed cell. Battery issues can sometimes stem from power management settings rather than physical battery failure. Check your power plan settings and update your BIOS before ordering a replacement. This step alone saves many users an unnecessary purchase.
OEM vs third-party: which battery should you choose?
Choosing the right replacement battery is as important as the replacement itself. OEM (Original Equipment Manufacturer) batteries are made by or for the original laptop manufacturer. Third-party batteries are produced by independent suppliers and are typically cheaper.
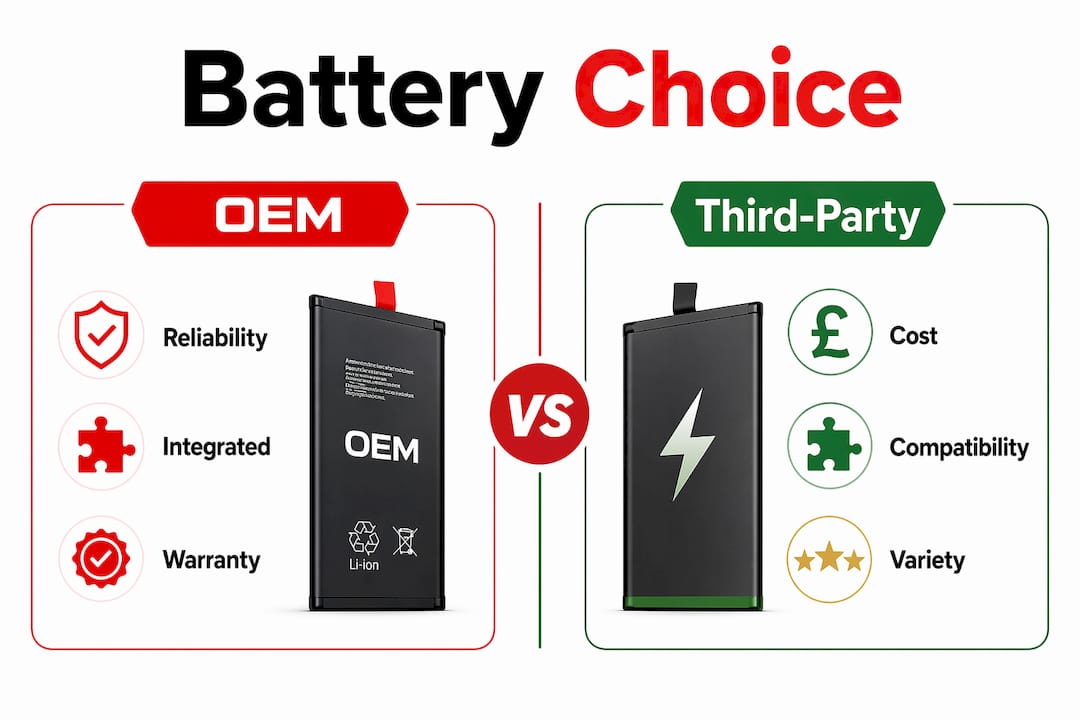
OEM batteries integrate more reliably with manufacturer power management systems, particularly on Dell laptops where the battery management controller communicates directly with Dell Power Manager. Third-party batteries can work well, but compatibility varies. Always verify the part number against your laptop’s service tag or model number before buying. For Dell machines, the service tag is printed on the base of the unit and can be entered on Dell’s support site to confirm compatible part numbers.
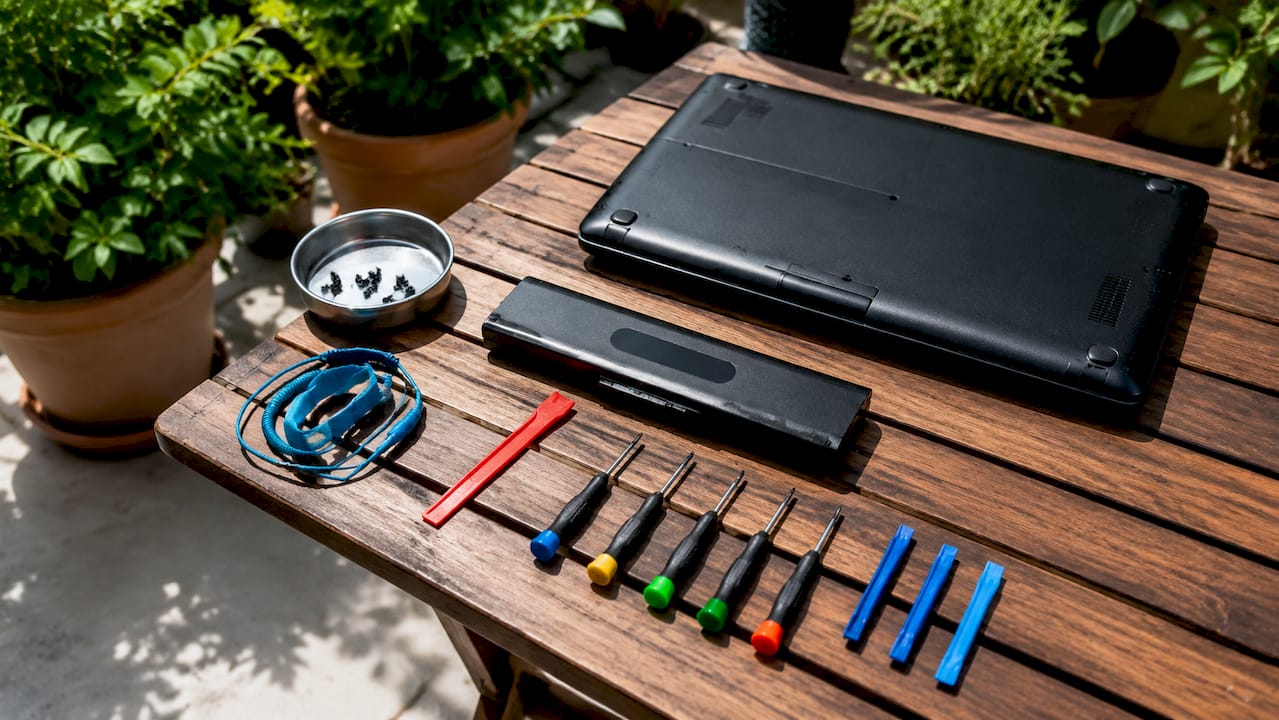
What tools do you need for a safe battery replacement?
Attempting a battery swap without the right tools causes more damage than the original fault. Gather everything before you start.
- Plastic spudger for prying panels without scratching or cracking plastic
- Phillips head screwdriver (PH0 and PH1 sizes cover most laptops)
- Torx screwdrivers (T5 and T8 are common on Dell Latitude and XPS models)
- Anti-static wrist strap to prevent electrostatic discharge damaging the motherboard
- Magnetic parts tray to keep screws organised by location
- Clean, soft surface such as a folded towel or anti-static mat to work on
Safety first: Power off the laptop completely. Do not use sleep or hibernate mode. Disconnect the charger. If your model has a removable battery, remove it before opening the chassis. Never puncture, bend, or apply pressure to a lithium-ion battery. A damaged cell can release toxic gases or catch fire.
Working on a clean, soft surface and using plastic tools prevents the two most common DIY mistakes: scratched panels and broken retaining clips. Screw counts vary significantly between models. A Dell Inspiron 15 may use eight base screws, while a Dell XPS 13 can use ten or more, some hidden under rubber feet. Photograph the base before removing anything.
Pro Tip: Place screws on a piece of paper and draw a rough outline of the laptop base. Position each screw where it came from on the drawing. This prevents mixing up different screw lengths during reassembly.
How to replace a laptop battery: step-by-step
Follow these steps in order. Skipping stages is the most common cause of damage during a DIY laptop battery replacement.
- Power down and disconnect all cables, including the charger and any USB peripherals.
- Remove base screws using the correct screwdriver. Keep them organised.
- Insert the plastic spudger into the seam between the base panel and the chassis. Work around the perimeter gently. Do not force it.
- Lift the base panel away carefully. Some models use clips in addition to screws. Listen for a soft click rather than a crack.
- Locate the battery connector. It is a flat ribbon or multi-pin plug seated in a socket on the motherboard. Lift it straight up or slide it horizontally depending on the connector type. Never pull by the cable.
- Remove the battery mounting screws. Most batteries are held by two to four Phillips or Torx screws.
- Lift the battery out from one end. Do not lever it with a metal tool.
- Place the new battery into position and refit the mounting screws finger-tight first, then snug with the screwdriver.
- Reconnect the battery cable firmly until it seats fully.
- Refit the base panel by pressing gently around the perimeter until all clips engage.
- Replace all base screws in the correct positions.
Common issues after replacement
| Problem | Likely Cause | Fix |
|---|---|---|
| Battery not detected | Connector not fully seated | Power off, reseat the cable |
| Charges to 80% only | Charging profile active in software | Check Dell Power Manager or BIOS settings |
| Swells after a few charges | Incompatible or counterfeit battery | Replace with a verified OEM or quality compatible unit |
| Laptop won’t power on | Battery cable reversed or damaged | Inspect connector orientation and pins |
Pro Tip: Dell Latitude, XPS, and Inspiron models each use different screw types and counts. Download the service manual for your exact model from Dell’s support site before starting. It takes five minutes and prevents hours of frustration.
Calibrating your new battery
Calibration is a step most guides skip, and skipping it leads to inaccurate charge readings for months. Charge the new battery to 100%, then run it down completely until the laptop shuts off on its own. Fully recharge it again before normal use. This cycle aligns the battery management controller with the actual capacity of the new cell, giving you accurate runtime estimates from day one.
How do you extend the life of a new laptop battery?
A replacement battery is only as good as the habits you build around it. Post-replacement care determines whether your new battery lasts two years or five.
- Set a charge limit. Dell Power Manager’s ‘Primarily AC Use’ profile limits charging to around 80%, which significantly reduces cell stress for users who work plugged in most of the time. Similar features exist in Lenovo Vantage and ASUS Battery Health Charging.
- Keep the laptop cool. Heat is the primary driver of premature battery degradation. Avoid using the laptop on soft surfaces like beds or sofas that block ventilation. A laptop stand improves airflow noticeably.
- Update your BIOS and firmware. Manufacturers regularly release updates that improve battery management algorithms. A BIOS update on a Dell XPS 15 can change how aggressively the system manages thermal throttling, which directly affects battery wear.
- Avoid deep discharges in daily use. Lithium-ion cells prefer shallow discharge cycles. Keeping charge between 20% and 80% extends cycle life considerably compared to regular full discharges.
- Run a monthly calibration. Once a month, allow the battery to discharge fully and then recharge completely. This keeps the battery controller accurate and helps you spot capacity degradation early.
For a deeper look at prolonging battery life, the Buy2fix blog covers charging habits and software settings across multiple device types.
Pro Tip: Avoid leaving your laptop plugged in at 100% overnight repeatedly. Modern laptops manage this better than older models, but sustained high charge states still accelerate cell ageing over time.
Key takeaways
Replacing a laptop battery successfully depends on correct diagnosis, compatible parts, proper tools, and consistent post-replacement habits rather than any single step.
| Point | Details |
|---|---|
| Diagnose before you buy | Run powercfg /batteryreport on Windows to confirm capacity loss before purchasing a replacement. |
| Match the part number | Verify battery compatibility using your laptop’s service tag or model number to avoid fitting errors. |
| Use the right tools | A plastic spudger, correct screwdrivers, and an anti-static strap prevent the most common DIY damage. |
| Calibrate after fitting | Charge to 100%, discharge fully, then recharge to set the battery controller accurately from the start. |
| Manage heat and charge limits | Use manufacturer software like Dell Power Manager to limit charge and reduce thermal stress daily. |
Why most people replace too early (or too late)
The honest truth I’ve found after years of working with repair parts is that most people make the replacement decision at the wrong time. Half replace too early, after a single bad day of battery life that turns out to be a rogue background process draining charge. The other half wait until the battery has swollen enough to warp the chassis, which turns a £40 battery job into a £150 repair involving a new bottom panel.
The battery report command is genuinely underused. I’ve seen laptops with batteries at 45% original capacity where the owner had no idea the decline had been gradual over three years. Running that report takes thirty seconds and gives you a number to act on rather than a feeling.
My view on OEM versus third-party batteries has shifted over time. I used to recommend OEM without hesitation. Now I think a quality compatible battery from a reputable supplier, verified against the correct part number, is a perfectly sound choice for most users. The key word is verified. Buying the cheapest option on a marketplace with no part number match is where things go wrong, not the choice of compatible over OEM itself.
The calibration step is the one most DIYers skip because it feels unnecessary once the laptop is working. Do it anyway. Your battery percentage will be meaningfully more accurate, and you will catch capacity issues earlier.
— Adewale
Find quality replacement batteries at Buy2fix
Buy2fix stocks a broad range of laptop replacement batteries and repair parts, supplied with quality checks before dispatch and backed by warranty support on eligible items. Whether you are replacing a Dell Latitude battery or sourcing parts for another major brand, the Buy2fix catalogue covers laptop and tablet parts with free UK mainland shipping and a 30-day return policy. For those tackling their first swap, the Buy2fix blog includes a full beginner’s battery guide covering part selection, tools, and installation in plain language. Sourcing from a specialist retailer rather than an unverified marketplace reduces the risk of receiving a counterfeit or mismatched cell considerably.
FAQ
How do i know if my laptop battery needs replacing?
Run powercfg /batteryreport in Windows Command Prompt to compare your battery’s current full charge capacity against its original design capacity. A reading below 60% of the original capacity is a reliable indicator that replacement is due.
Is it safe to replace a laptop battery yourself?
Yes, for most modern laptops with accessible base panels. Power off the device completely, use plastic prying tools, wear an anti-static wrist strap, and never apply force to a swollen battery. Follow the service manual for your specific model.
How long does a replacement laptop battery last?
A quality replacement battery typically lasts two to four years under normal use. Post-replacement lifespan depends heavily on daily charging habits, heat management, and whether you use charge-limiting software.
Should i buy an OEM or third-party replacement battery?
OEM batteries offer the most reliable integration with manufacturer power management systems. A verified compatible battery from a reputable supplier is a sound alternative, provided the part number matches your exact laptop model.
What is battery calibration and why does it matter?
Battery calibration involves charging to 100%, fully discharging, then recharging completely after fitting a new battery. This process aligns the battery management controller with the new cell’s actual capacity, giving accurate charge readings from the outset.
Recommended
Let customers speak for us
For Garmin Venu 3 22mm Two Color Textured Silicone Watch Band(White+Grey)

Looks great and suites the purpose. Decent quality

Product was exactly as advertised. Happy with the process and this company.

Goods arrived as promised. Was exacly what I expected, and delivered without a hitch. Price was good. I will shop here again.

Great, helps a lot

For Google Pixel Fold Colorful Series Acrylic + TPU Phone Case(Black)

Produit arrivé dans les temps.
Très efficace, fonctionne très bien.
Je recommande.

Original LCD Screen for Xiaomi Poco X3 NFC / Poco X3 Digitizer Full Assembly with Frame(Black)

I am extremely pleased with the phone case it's a pleasure to own. Couldn't have asked for more, with either the service or the actual article

Excellent product and service

works perfectly and it came in the time it said it would!

Délai de livraison respecté et, bien que ça soit un cadeau, il semble que la qualité est irréprochable d'après son nouveau propriétaire.
Perfect for car with short straps

Hard to find a cover for the phone that my daughter has. This website seems to have covers for the phones that are not popular. Delivery was quite fast considering that it was coming from outside UK.

The phone covers are awesome. Good pricing. I am happy
