

How to Fix Charging Port: A Step-by-Step Guide
Fixing a faulty charging port might sound like a complicated headache for most device owners. Yet the real surprise is that over 60 percent of phone charging issues are caused by simple things like loose cables or hidden dirt, not by broken hardware. Most people rush to replace their phone or pay costly repair fees when a structured, methodical check could save time and money right away.
Table of Contents
- Step 1: Assess Your Device’s Charging Issues
- Step 2: Gather Necessary Repair Tools and Parts
- Step 3: Disassemble The Device Safely
- Step 4: Replace Or Repair The Charging Port
- Step 5: Reassemble The Device Securely
- Step 6: Test The Charging Functionality
Quick Summary
| Key Point | Explanation |
|---|---|
| 1. Assess charging issues systematically | Diagnose problems by checking cables and ports for damage, and testing with alternate chargers to pinpoint the issue. |
| 2. Gather the right repair tools | Prepare necessary tools such as precision screwdrivers and plastic pry tools to ensure efficient and safe disassembly and repair. |
| 3. Disassemble the device carefully | Power down the device completely and proceed with disassembly using proper techniques to avoid further damage to internal components. |
| 4. Replace or repair the charging port | Use soldering for connection repairs or consider modular replacements, ensuring precise alignment and clean connections for effective functionality. |
| 5. Test charging functionality thoroughly | Conduct various charging tests to verify consistent functionality and monitor for any irregularities that may indicate incomplete repairs. |
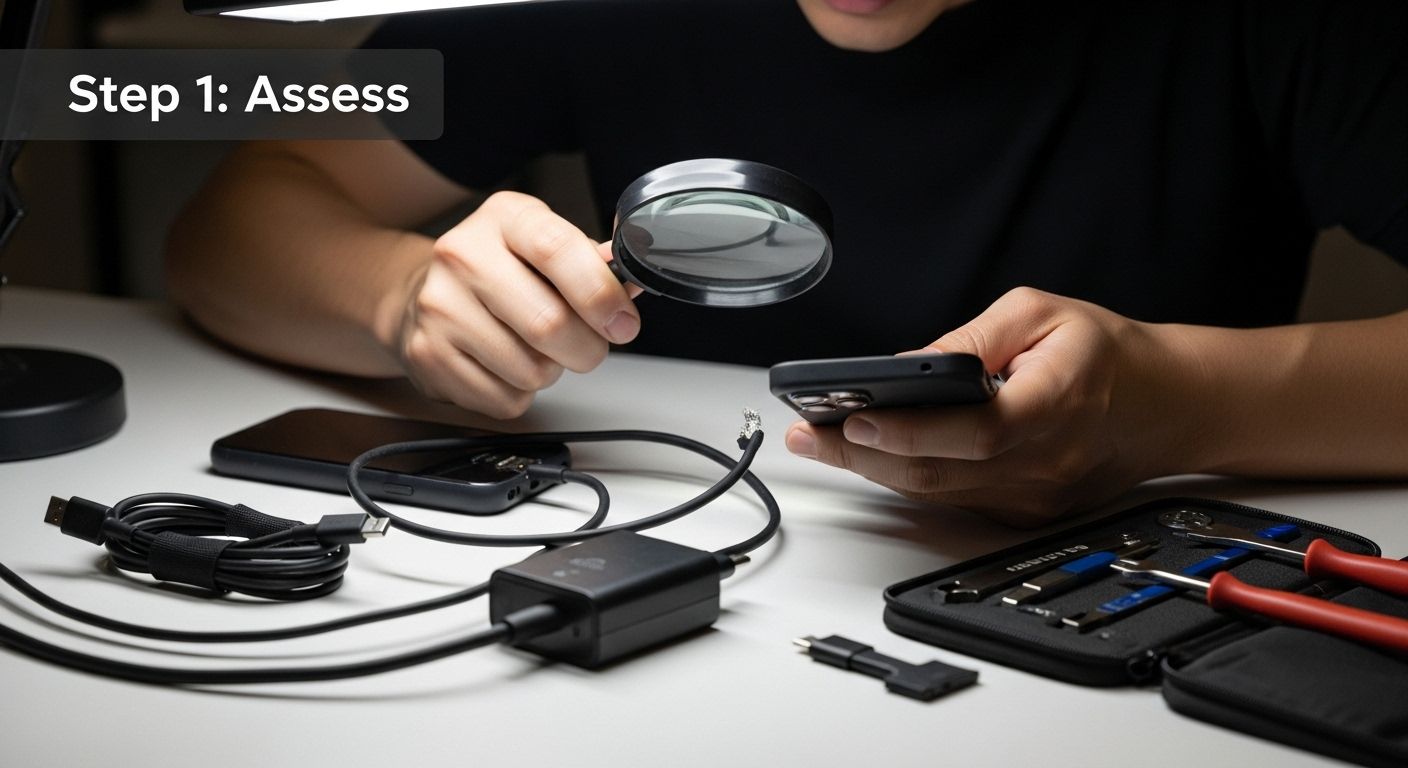
Step 1: Assess Your Device’s Charging Issues
Before diving into complex repair procedures, understanding the root cause of your device’s charging problems is crucial. A systematic assessment can help you determine whether you’re dealing with a simple issue or a more complex charging port malfunction.
Start by conducting a comprehensive diagnostic check of your device’s charging capabilities. Carefully examine the charging cable for visible signs of damage such as fraying, exposed wires, or bent connectors. These seemingly minor imperfections can often interrupt the charging process and might be mistaken for port issues.
Next, test your charging equipment systematically. Try using the same charging cable with another compatible device to confirm whether the problem lies with the cable or the charging port. Similarly, attempt charging your device using an alternative charger from a trusted source. This eliminates potential variables and helps pinpoint the exact location of the charging dysfunction.
Physical inspection of the charging port is equally important. Use a bright light and magnifying glass to examine the port closely. Look for telltale signs of damage such as bent pins, accumulated dust, lint, or corrosion. Debris can prevent proper electrical connection and mimic more serious charging port problems. Gently rotate the device to inspect the port from multiple angles, ensuring you don’t miss subtle irregularities.
According to University of California, Santa Barbara’s Sustainable Technology Repair Initiative, key indicators of charging port issues include:
- Intermittent charging
- Device not recognizing the charger
- Charging only at specific angles
- Visible physical damage to the port
If your initial assessment reveals multiple symptoms, you’re likely dealing with a charging port problem that requires further investigation. Document your findings through photographs if possible, as these can be helpful during subsequent repair steps or when seeking professional assistance.
Successful completion of this assessment stage means you’ve systematically ruled out external factors and confirmed the specific nature of your charging port issue. This diagnostic groundwork is essential for determining the most appropriate repair approach in the following steps.
Step 2: Gather Necessary Repair Tools and Parts
Successful charging port repair demands precision and proper preparation. Before beginning your repair journey, assembling the right tools and components is crucial to ensuring a smooth, efficient process. Think of this stage as preparing for a critical mission where every tool plays a strategic role in your device’s restoration.
Your repair toolkit will vary slightly depending on your specific device model, but certain universal tools are essential. Precision screwdrivers are your primary weapons, with different types like Phillips, Torx, and Pentalobe being necessary for various smartphone models. Select a set that includes multiple sizes and head types to accommodate different device specifications.
For delicate component manipulation, invest in high-quality plastic pry tools. Metal tools can easily scratch or damage sensitive electronic surfaces, so opt for specialized plastic spudgers designed specifically for electronics repair. These flexible tools allow you to safely separate device components without risking additional damage.
According to University of California’s Technology Repair Initiative, your comprehensive repair kit should include:
- Precision screwdriver set
- Plastic pry tools
- Tweezers
- Multimeter
- Soldering iron and solder
- Replacement charging port specific to your device model
- Isopropyl alcohol and cotton swabs
- Anti-static wrist strap
Electronic component replacement requires meticulous part selection. Ensure you purchase a charging port that matches your exact device model, considering factors like pin configuration, mounting style, and connector type. Purchasing from reputable suppliers reduces the risk of compatibility issues and potential further device damage.
Additional recommended tools include a magnifying glass for detailed inspection, compressed air for cleaning, and thermal protection equipment like heat-resistant gloves. A clean, well-lit workspace with ample room to organize your tools will significantly improve your repair efficiency and reduce the likelihood of losing small components.
By methodically gathering these tools and parts before starting your repair, you’ll transform a potentially frustrating process into a systematic, manageable task. Proper preparation is the foundation of successful device restoration.
Step 3: Disassemble the Device Safely
Device disassembly represents a critical phase in charging port repair, requiring precision, patience, and methodical approach. Your goal is to access the internal components without causing additional damage to the device’s delicate electronic systems.
Power management is your first priority. Before touching a single screw, completely power down the device and disconnect it from any power source. Remove the battery if possible, as residual electrical charge can potentially cause short circuits or unexpected electrical reactions during the disassembly process.
Begin by carefully removing the device’s external components. For smartphones, this typically involves removing the back panel or battery cover using your precision screwdrivers. Work systematically, keeping track of each screw and component. Pro tip: use a magnetic screw mat or a clean, white surface to organize screws and prevent losing these tiny but critical pieces.
According to Electronic Waste Repair Association, critical safety considerations during device disassembly include:
- Work in a well-ventilated area
- Wear safety glasses
- Use cut-resistant gloves
- Ensure proper lighting
- Maintain a clean, organized workspace
As you progress, use plastic pry tools to gently separate internal components. Apply consistent, gentle pressure to avoid bending or breaking fragile connectors. Some devices have adhesive securing internal components, so patience is key. If you encounter resistance, stop and reassess rather than forcing the separation.
Photograph or sketch the device’s internal layout before complete disassembly. This visual reference will prove invaluable during reassembly, helping you remember exact component placement and connection points. Pay special attention to ribbon cables and delicate connectors, which can be easily damaged by improper handling.
Successful disassembly means you’ve carefully exposed the charging port without introducing new damage. Your device should now be completely open, with internal components safely separated and ready for detailed inspection and repair. Take a moment to verify each component’s condition before proceeding to the next repair stage.
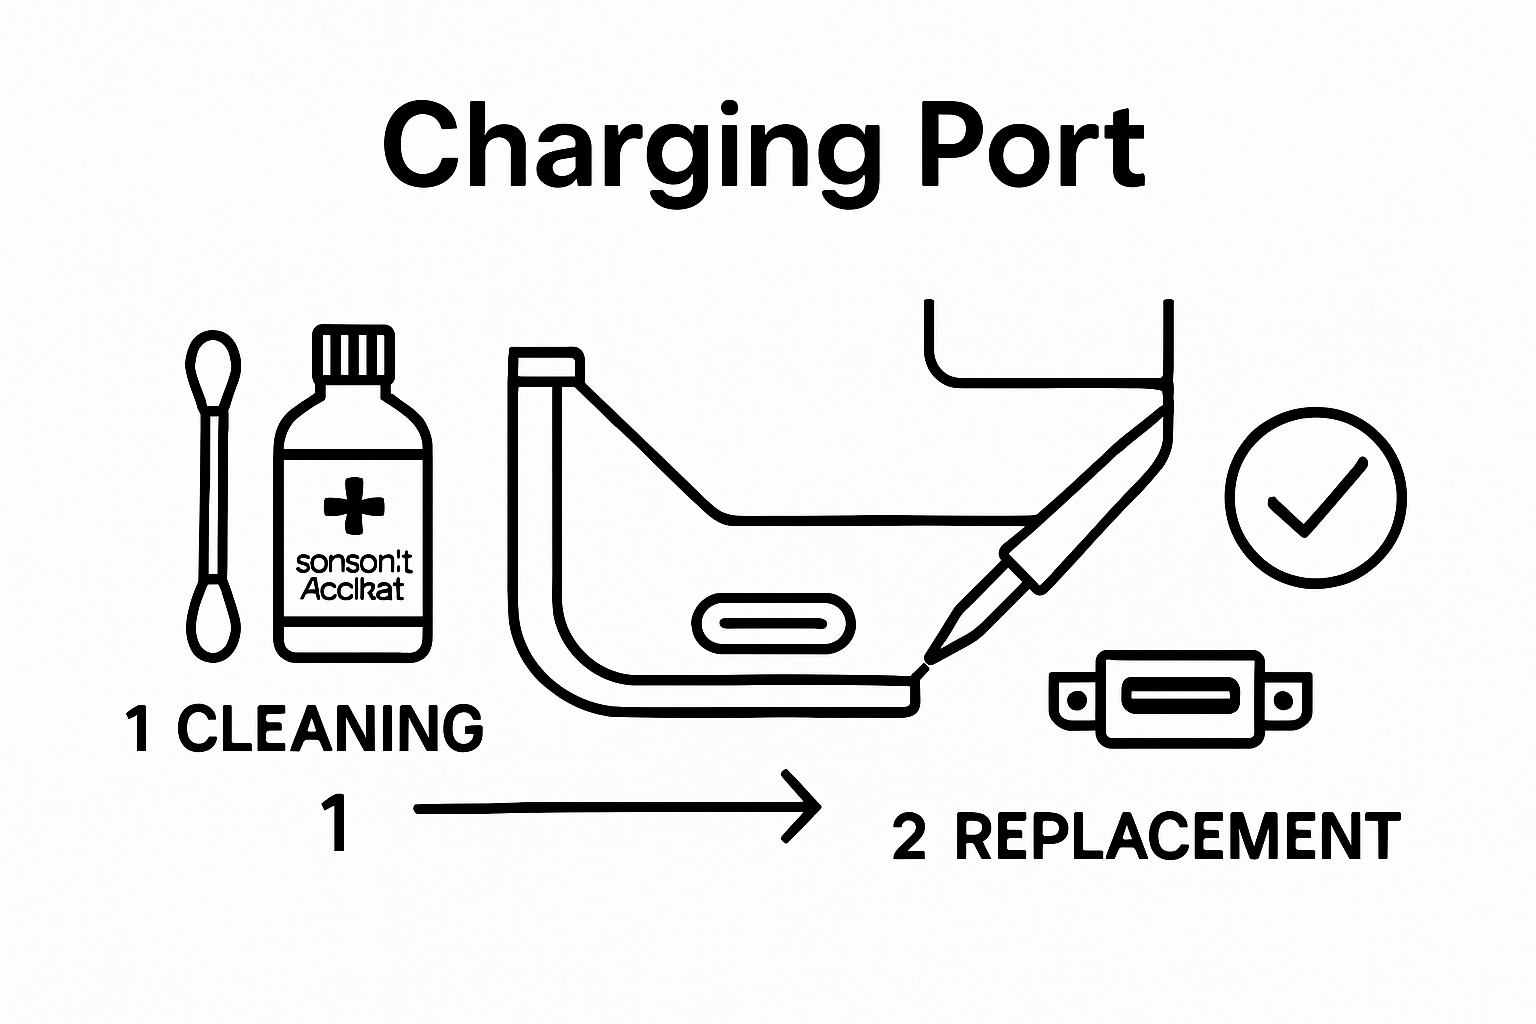
Step 4: Replace or Repair the Charging Port
The moment of critical intervention has arrived. Replacing or repairing a charging port requires precision, technical skill, and a methodical approach. Your previous diagnostic and disassembly work now converges into this pivotal repair stage.
Soldering represents the primary method of charging port replacement. Begin by carefully examining the existing port’s connection points and pin configuration. Use your multimeter to verify electrical continuity and identify any specific connection failures. Heating the existing solder joints requires a steady hand and temperature-controlled soldering iron to prevent additional device damage.
Prepare your workspace by cleaning the connection area with isopropyl alcohol and cotton swabs. Remove any residual solder using desoldering braid, ensuring a clean surface for the new charging port. Precise alignment is crucial - even slight misalignment can render the entire repair ineffective. Examine the replacement port carefully, matching its configuration exactly with the original component.
According to UMA Technology’s Repair Guide, key considerations during charging port replacement include:
- Matching port specifications exactly
- Using temperature-controlled soldering equipment
- Checking pin alignment meticulously
- Verifying electrical connections before final assembly
- Testing the port thoroughly after installation
Apply fresh solder sparingly, creating clean connections that don’t introduce excess material. Each connection should be smooth, consistent, and mechanically sound. Use flux to assist in creating clean solder joints, which improve electrical conductivity and mechanical strength.
If soldering seems too complex, some devices offer modular charging port replacements that can be connected with minimal technical expertise. These plug-and-play options provide a more straightforward repair approach for those less comfortable with advanced soldering techniques.
Successful port replacement means creating a robust, electrically sound connection that precisely mimics the original port’s functionality. Carefully inspect your work, ensuring no excess solder, loose connections, or misalignments exist. Your meticulous approach now determines the device’s future performance and charging reliability.
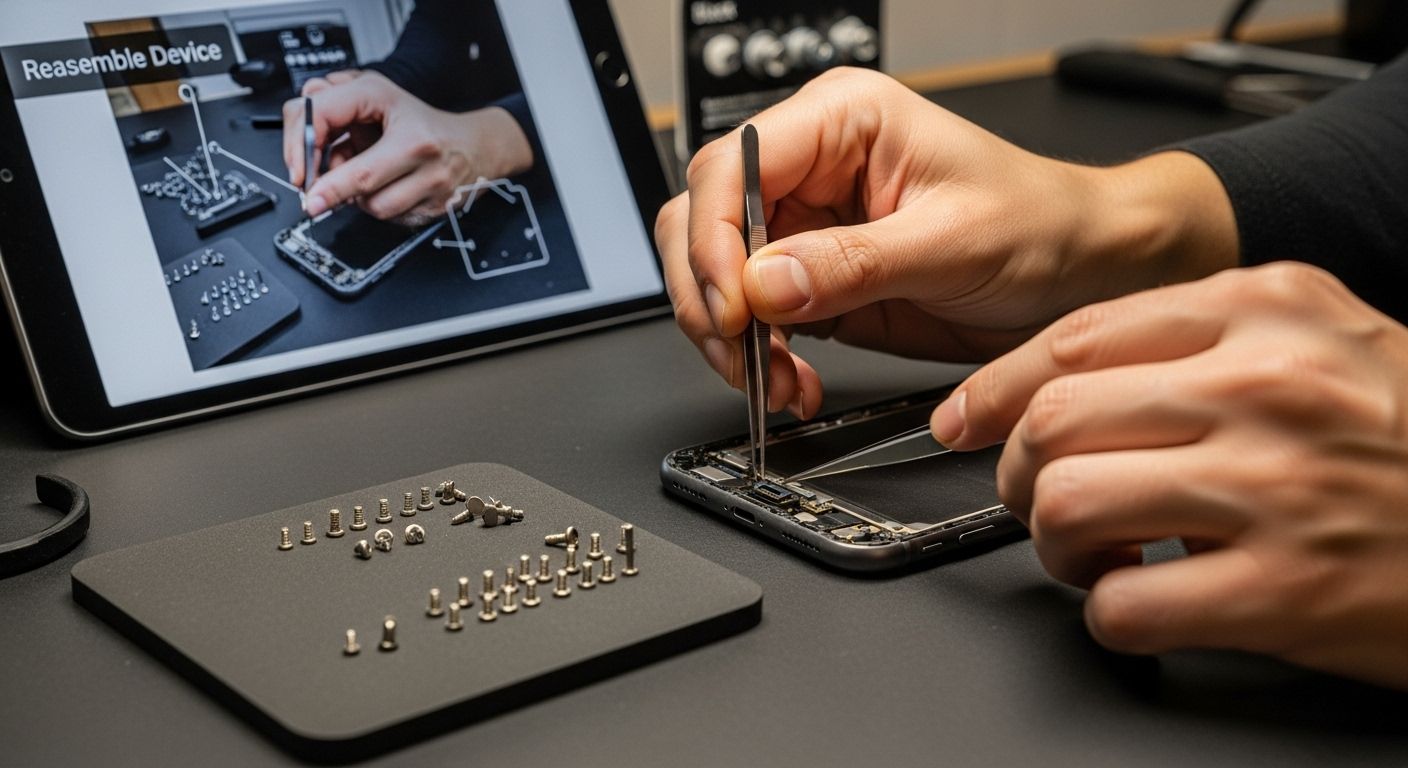
Step 5: Reassemble the Device Securely
Reassembly represents the critical moment where your precise repair work transforms back into a functional device. This stage demands the same meticulous attention you applied during disassembly, with each component returning to its exact original position.
Systematic reconstruction is paramount. Retrieve the photographs or sketches you created during disassembly and use them as a comprehensive guide. Begin by carefully reconnecting internal ribbon cables and electrical connections, ensuring each connector is seated correctly without excessive force. Gentle, deliberate movements will prevent potential damage to sensitive electronic components.
Align the new charging port precisely, verifying its position matches the device’s original configuration. Use your earlier diagnostic notes to confirm proper placement. Apply minimal adhesive if required, but avoid excess material that might interfere with component connections or thermal management.
According to iFixit’s Device Reassembly Guidelines, critical reassembly considerations include:
- Replace components in reverse order of disassembly
- Align connectors carefully before securing
- Use original screws in their precise locations
- Apply consistent, moderate pressure
- Avoid overtightening screws
Screw management requires exceptional precision. Return each screw to its original location, being mindful of different screw lengths and types. Use your magnetic screw mat to maintain organization, preventing mix-ups that could compromise device integrity. Tighten screws gradually and evenly, rotating between different points to ensure balanced pressure.
Once physical reassembly is complete, perform a preliminary electrical test. Connect the battery and power source, observing the device’s initial startup behavior. Look for any unusual sounds, unexpected screen behavior, or charging irregularities. These initial moments can reveal whether your repair was successful or requires further adjustment.
Successful reassembly means your device looks identical to its pre-repair state, with all components securely positioned and functioning correctly. The charging port should now provide stable, consistent electrical connection without physical movement or instability. Your methodical approach has transformed a potentially costly replacement into a precise, cost-effective repair.
Step 6: Test the Charging Functionality
The final and most critical stage of your charging port repair involves comprehensive functionality testing. This step transforms your technical repair work from theoretical success to practical validation, ensuring the device charges consistently and safely.
Initial charging tests require methodical verification. Begin by using the original charging cable that initially demonstrated problems. Connect the cable to a reliable power source and observe the device’s charging behavior carefully. Watch for immediate indicators like battery icon response, charging animation, and power consumption signals. Any hesitation or inconsistent charging suggests potential underlying issues requiring further investigation.
Expand your testing across multiple charging scenarios. Try different cables, power adapters, and charging positions to comprehensively assess the port’s functionality. Systematic testing eliminates potential variables that might mask incomplete repair work. Pay close attention to subtle indicators like charging speed, temperature consistency, and connection stability.
According to USB Implementers Forum Testing Guidelines, critical charging functionality checks include:
- Verify consistent power transfer
- Check voltage stability
- Assess charging speed across different power sources
- Monitor device temperature during charging
- Test connection at multiple angle positions
Perform both short-term and extended charging tests. Connect the device for brief periods initially, then conduct longer charging sessions to assess sustained performance. Monitor the battery temperature, ensuring it remains within normal ranges and doesn’t exhibit excessive heat generation.
Use a multimeter to verify electrical continuity and validate the charging port’s internal connections if you possess advanced diagnostic skills. Measure voltage input and output, confirming the port delivers consistent electrical performance matching the device’s specifications.
Successful testing means your device charges reliably across various scenarios, maintains stable power transfer, and exhibits no unusual behavior. The charging port should feel secure, with no physical movement or electrical interruptions. Your meticulous repair has restored the device’s core functionality, transforming a potentially discarded device into a fully operational piece of technology.
Restore Charging Confidence With Quality Parts from Buy2fix
You have just learnt the importance of precise diagnostics and careful repairs when handling charging port issues. Frustration often arises when your device fails to charge reliably, causing disruption to your daily routine. Whether it is an unreliable charging port, a faulty cable, or a missing quality replacement part, that sense of uncertainty can quickly become overwhelming. The article highlighted crucial steps such as selecting the correct charging port, using precision tools, and ensuring secure reassembly. But having the right knowledge is only part of the solution. Without trusted parts, your repair can fall short.
Do not put your time and effort at risk with substandard components. At Buy2fix, you will find only rigorously tested charging ports and repair parts compatible with all leading brands, whether for iPhone, Samsung, or other major manufacturers. Our stock covers everything from replacement charging ports and flex cables to precision repair tools, giving you access to professional-grade solutions that match your needs. Plus, with free UK mainland shipping and a one-year warranty, your purchase is protected. Need a specific replacement part? Explore our mobile phone repair parts section today, or return to our homepage for expert support and rapid dispatch. Act now to complete your repair with confidence and keep your device powered safely.
Frequently Asked Questions
What are the common signs of a faulty charging port?
Common signs include intermittent charging, the device not recognising the charger, charging only at specific angles, or visible physical damage to the port.
How can I safely disassemble my device to access the charging port?
Power down the device and remove the battery if possible. Use precision screwdrivers and plastic pry tools to detach the external components carefully, ensuring not to damage internal connectors.
What tools do I need to replace a charging port?
You will need a precision screwdriver set, plastic pry tools, tweezers, a multimeter, soldering iron and solder, a replacement charging port, isopropyl alcohol with cotton swabs, and an anti-static wrist strap.
How do I test the charging functionality after a repair?
Connect the device to the original charging cable and power source. Observe for battery icon response and charging animations. Perform tests with different cables and power adapters to ensure consistent power transfer and stability.
Recommended
Let customers speak for us
For Apple Watch Ultra 3 / 2 / 1 49mm RedPepper Armor Metal Case Integrated Silicone Watch Band(Steel Black White)

Good price and quick postage

Perfect fit.

Absolutely necessary

Second Purchase and still a very happy customer. Keep up the good work.


For Xiaomi Smart Band 9 Active / Redmi Band 3 Mijobs Metal Shell Silicone Watch Band(Grey Silver)

Was worried I’d have to buy a new vacuum as mine had gone outside of the 2-year warranty, and all for a snapped clip. Really good replacement and easy to fit.

Exactly what I needed. Perfect to size. Fresh look!

Excelent service

For Garmin Venu 3 22mm Two Color Textured Silicone Watch Band(White+Grey)

Looks great and suites the purpose. Decent quality

Product was exactly as advertised. Happy with the process and this company.

Goods arrived as promised. Was exacly what I expected, and delivered without a hitch. Price was good. I will shop here again.

Great, helps a lot
