

DIY phone repair tips: save up to 70% and fix it fast
TL;DR:
- Self-repair is viable and can significantly reduce costs for damaged phones.
- Proper tools, organization, safety measures, and step-by-step guides are essential for success.
- Choosing quality parts and understanding repair limitations improve outcomes and sustainability.
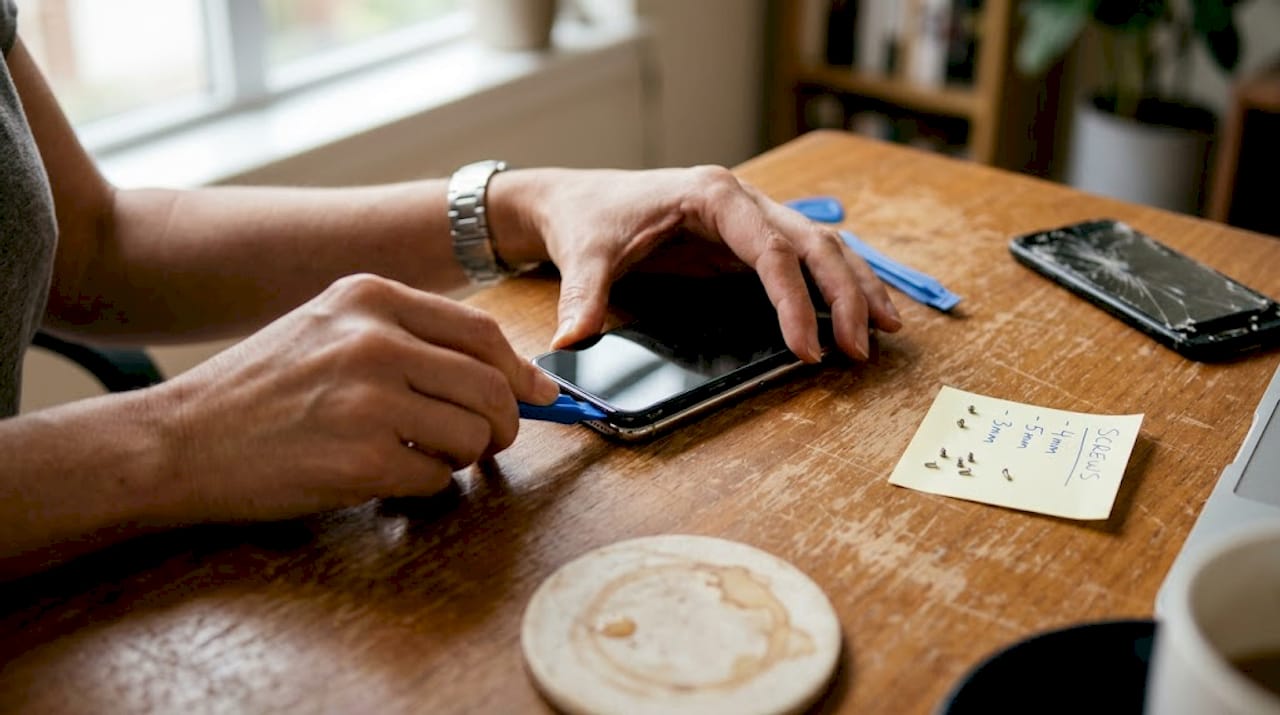
Dropping your phone and watching the screen crack is one of those sinking moments that immediately raises one question: how much is this going to cost? Professional repairs can feel extortionate, and replacing the device entirely seems wasteful when it was working perfectly five minutes ago. The good news is that self-repair is genuinely viable for millions of people. DIY success rates sit around 40% for first-timers, and experienced DIY enthusiasts fare far better with the right preparation. This guide walks you through every stage, from gathering tools to sourcing quality parts, so you can fix your device with confidence and keep your money where it belongs.
Table of Contents
- What you need before you start: essential tools and safety
- Step-by-step guide: typical DIY phone repair process
- Avoiding common pitfalls: mistakes and troubleshooting tips
- Sourcing quality parts and guides for DIY success
- The real DIY advantage: what enthusiasts should know
- Get the right parts and guides for your DIY repair
- Frequently asked questions
Key Takeaways
| Point | Details |
|---|---|
| Have the right tools | A basic toolkit, including ESD protection, avoids most common errors. |
| Follow reliable guides | Step-by-step instructions from trusted sources greatly increase your repair success. |
| Take your time | Rushing increases mistakes—track each step and keep screws organised. |
| Check part quality | Using reputable suppliers ensures replacements work and last. |
What you need before you start: essential tools and safety
Preparation is everything in phone repair. Turning up to a disassembly without the correct equipment is the single fastest route to a snapped connector or a stripped screw. Before you touch your device, make sure you have the following in place.
Core tools every DIY repairer needs:
- Precision screwdriver set (Phillips, Pentalobe, Torx)
- Plastic spudgers and prying tools
- Anti-static ESD mat and wrist strap
- Magnifying glass or illuminated loupe
- Tweezers (curved and straight)
- Suction cup handles for screen removal
- Magnetic screw tray or parts organiser
- Heat gun or iOpener tool for adhesive softening
Knowing which essential phone repair tools you need for specific jobs saves wasted time and money on unnecessary kit. A basic repair toolkit costs between £15 and £40, which is negligible compared to a professional repair bill.
Safety deserves equal attention. Static electricity is an invisible threat. A single electrostatic discharge can permanently damage a motherboard or display driver chip, and you will not even feel it happen. Always use your ESD mat on a clear, hard surface and clip the wrist strap before picking up any internal component. Using the wrong tools or skipping ESD protection is one of the most common causes of avoidable damage during home repairs.
Glass shards are another hazard people underestimate. Cracked screens can splinter further during removal. A pair of thin nitrile gloves protects your fingers and keeps oils off the display assembly.
Organisation during disassembly is where many repairs go wrong at reassembly. Different screws look identical but are different lengths, and forcing the wrong screw into a hole can crack the motherboard beneath it.
| Repair stage | Recommended organiser |
|---|---|
| Screen removal | Magnetic mat with labelled zones |
| Battery disconnect | Single-compartment tray |
| Motherboard screws | Numbered adhesive mat |
| Flex cable routing | Printed photo reference |
Pro Tip: Take a photo of every layer before you lift it. Smartphones pack dozens of components into a few millimetres, and a visual reference is worth more than any written note when you are putting it back together.
According to repair industry stats, the majority of failed DIY attempts come down to preparation failures rather than technical complexity. Sorting your workspace before you begin genuinely predicts how well the repair goes.
Step-by-step guide: typical DIY phone repair process
With your toolkit in hand and safety sorted, let us walk through a typical repair from start to finish.
1. Diagnose the fault properly. Confirm exactly what is broken before ordering parts. If the screen shows image but the touch is unresponsive, you may only need a digitiser, not a full display assembly. Plug the phone into a charger to rule out a flat battery before assuming it is a charging port fault.
2. Order confirmed parts before disassembly. There is no point opening the device until your replacement component has arrived and been visually inspected.
3. Power off and remove the SIM tray. Always work on a completely powered-down device.
4. Soften adhesive where needed. Most modern phones use adhesive to seal the rear panel or screen. Apply gentle heat using a heat gun on a low setting or an iOpener tool for 60 to 90 seconds.
5. Open the device with plastic tools. Never metal. Plastic prying tools prevent scratches and avoid bridging contacts.
6. Document every layer with photos before removal. Flex cables, ribbon connectors, and bracket positions all matter on reassembly.
7. Replace the faulty component. Follow a model-specific guide for your exact device. Guides for how to replace a cracked screen vary significantly between manufacturers.
8. Reconnect, test before sealing. Power on the device and confirm the new component works before applying adhesive or closing the housing.
9. Seal and reassemble. Replace all screws in the correct positions, apply new adhesive if required, and press firmly.
Typical repair times for common faults:
| Repair type | Average DIY time |
|---|---|
| Screen replacement | 45 to 90 minutes |
| Battery swap | 30 to 60 minutes |
| Charging port | 60 to 120 minutes |
| Camera lens | 20 to 40 minutes |
Research into disassembly complexity confirms that proxy time methods are more reliable than step counts for estimating how long a repair will take. Use time estimates, not step numbers, to plan your repair session.
Pro Tip: Follow a DIY screen repair guide specific to your exact model number, not just your phone range. A Samsung Galaxy S23 and S23 Ultra use very different internal layouts.
Among those who follow structured repair guides carefully, DIY repair success rates climb well above the average, making methodical preparation the single biggest performance driver.
Avoiding common pitfalls: mistakes and troubleshooting tips
Following the right process is essential, but even experienced repairers encounter hurdles. Here is how to sidestep the top trouble spots.
Most frequent DIY errors:
- Losing or mixing up screws during disassembly
- Skipping ESD protection and damaging internal chips
- Applying excessive force to stubborn connectors
- Using mismatched screws on reassembly and cracking the board
- Forgetting to remove the battery connector before working near it
- Ordering incorrect parts due to not verifying the model number
Skipping diagnostics and using wrong tools top the list of mistakes that turn a straightforward repair into an expensive write-off. A thorough read of our guide on common phone repair mistakes before you begin can spare you a great deal of frustration.
“The difference between a successful DIY repair and a damaged device almost always comes down to the five minutes of preparation the repairer did or did not do before opening the phone.”
Troubleshooting common post-repair issues:
If your screen is unresponsive after replacement, reseat the display connector. A connector that is 95% clicked in will behave as if it is completely disconnected. If the battery drains abnormally fast after a swap, check that no flex cable is pinched beneath a bracket.
If the phone does not power on after reassembly, do not panic. Reconnect the battery, hold the power button for 15 seconds, and try again. Many phones enter a deep sleep state during repair that mimics a dead battery.
Always test the device fully before sealing it. Screen touch sensitivity, speaker output, microphone, cameras, and mobile signal should all be confirmed working. Catching a missed connection at this point takes 30 seconds. Catching it after the adhesive has cured takes another full disassembly.
Pro Tip: Keep a record of every costly repair error you encounter or nearly make. Building your own troubleshooting log turns each repair into experience for the next one.
Sourcing quality parts and guides for DIY success
Being prepared for mistakes is only part of the solution. Choosing the right parts and guidance matters just as much.
A low-quality replacement screen might power on and display an image, but it will often have noticeably worse colour reproduction, lower brightness, poor touch sensitivity, or no oleophobic coating (the layer that makes your screen easier to clean). These issues compound over time and can make you regret saving a few pounds on a cheaper part.
What to check when vetting a parts supplier:
- Does the supplier offer a warranty on the component? A reputable seller will provide at least 30 to 90 days coverage
- Are reviews specific to the part model, not just the seller generally?
- Is compatibility clearly stated for your exact device model number?
- Does the listing distinguish between aftermarket and genuine OEM parts?
- Is there a returns policy if the component is faulty on arrival?
For batteries specifically, always check the rated capacity (mAh) matches your original. An undersized battery from an unknown source is both a performance and safety risk.
iFixit guides have supported over 100 million repairs worldwide, demonstrating that structured, accurate guidance is directly linked to successful outcomes. Alongside community-driven guides, checking supplier blogs and tutorials helps you visualise the repair before attempting it.
There is also an environmental argument for DIY repair that is easy to overlook. Every common replacement part installed in an existing device is one fewer device ending up in a landfill. Smartphones contain rare earth metals that are difficult to recycle, and extending a device’s life by even two years makes a meaningful difference.
For those exploring which faults are genuinely manageable at home, a look at DIY-friendly repairs makes it clear that screens, batteries, charging ports, and camera lenses are all well within reach for a prepared enthusiast.
Pro Tip: Always cross-reference repair stats and savings data against your specific repair before committing. Some repairs, like microsoldering or Face ID module replacement, are genuinely not suitable for home environments.
The real DIY advantage: what enthusiasts should know
Here is a perspective that most repair guides skip past. Not every phone and not every repair is a sensible DIY candidate, and pretending otherwise sets people up to fail. Older flagship devices from three or four years ago are often the sweet spot: parts are widely available, guides are battle-tested, and the cost of parts is low relative to the device’s remaining value. Very new phones, on the other hand, sometimes use proprietary software pairing that means a third-party screen or battery will not authenticate correctly, even if it fits physically.
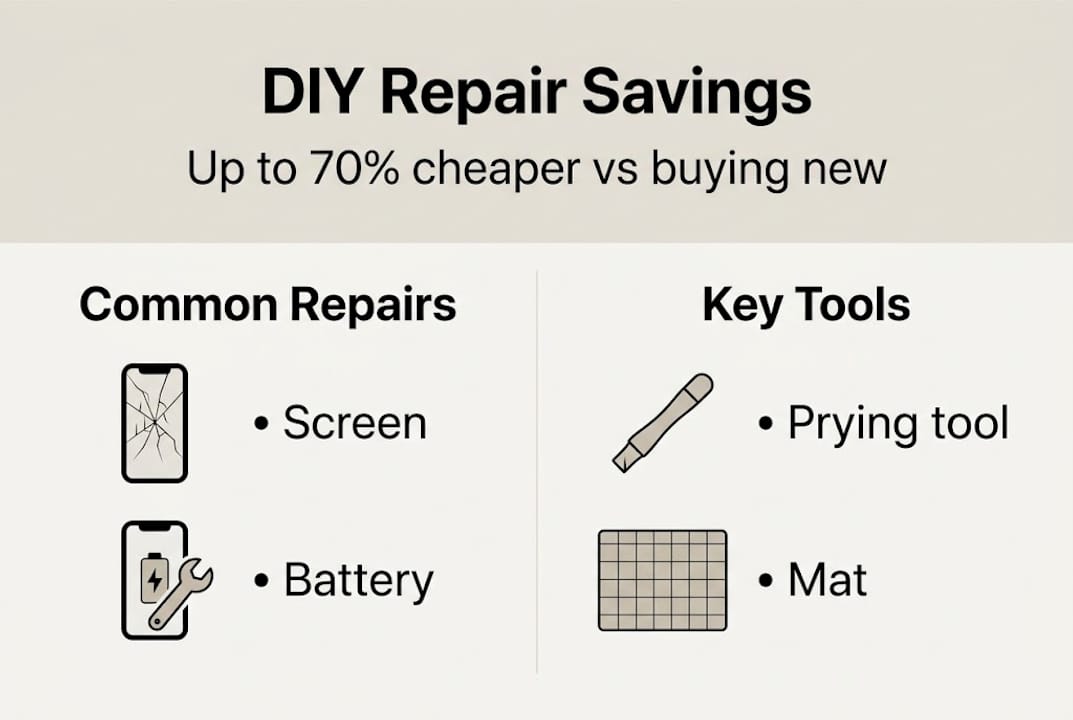
DIY repairs can save up to 70% compared to buying new, but that saving only materialises if the repair succeeds. Choosing the right repair for your skill level matters more than any specific technique. The real benefit for most enthusiasts is not just the money saved on one repair. It is the compounding confidence that makes each subsequent repair faster, cheaper, and less stressful. If you want to fix a phone screen affordably and sustainably, patience and honest self-assessment of your starting skill level are what determine whether you succeed.
Get the right parts and guides for your DIY repair
For those ready to start their next repair, having the best resources within reach makes all the difference. At Buy2fix, we stock a wide selection of quality aftermarket and genuine replacement parts for iPhone, Samsung, Huawei, Xiaomi, and many more brands, all shipped free to UK mainland addresses. Whether you need a display assembly, a battery, a charging port, or a camera module, our catalogue covers models from the latest releases to older devices still worth repairing. Every part comes with a one-year warranty and is checked before dispatch, so you can buy with confidence and focus on what matters: getting your device working again.
Frequently asked questions
What are the most common phone repairs tackled DIY?
Cracked screens account for 66% of all repairs, followed by battery replacements at 18% and charging port faults at 12%, making these the most common DIY repair targets.
How can I avoid damaging my phone further when repairing it myself?
Use proper tools, avoid excessive force, track every screw carefully, and follow a model-specific guide. Skipping diagnostics or using wrong tools are the leading causes of avoidable repair damage.
Is DIY phone repair worth it financially?
DIY repairs are up to 70% cheaper than replacing your device outright, and they also reduce electronic waste, making them a sound financial and environmental choice.
What resources or guides should I use for DIY repair?
Use model-specific, step-by-step guides from reputable sources. iFixit has supported over 100 million repairs globally, making it one of the most trusted starting points for any DIY repair project.
Recommended
- 7 Key DIY Phone Repair Pros Cons Every User Should Know – buy2fix
- Fix Phone Screen Cheap UK: Save 40% DIY With Quality Parts – buy2fix
- Common Phone Repair Mistakes: Costly DIY Errors – buy2fix
- Phone screen repair costs explained: save money in 2026 – buy2fix
- 7 būtiski soļi mobilā telefona remonta pārbaudes sarakstā
Let customers speak for us
For Samsung Galaxy A26 SM-A266B Original Earpiece Speaker with Cable

Very good communication throught. Good product

Well made part very strong easy to fit great value for the money

Well packed, with fast shipping :)

Exactly what the doctor ordered…great color, comfort, and durability. Trust this watch band!

Brilliant strap, second purchase, bought bracelet before. Excellent value. Thank you

Great item for splitting your Audio signal

Outstanding product!
Next level customer service.

Very satisfied but the delivery needs to get more faster...

Good price,quick delivery

Best phone case ever! This is my second one as I broke my first. Would defo recommend

Great fitting Apple Watch bands

For Apple Watch Ultra 3 / 2 / 1 49mm RedPepper Armor Metal Case Integrated Silicone Watch Band(Steel Black White)

Good price and quick postage

